Self-host an automated Jellyfin media streaming stack

DISCLAIMER: This article serves educational purposes only.
Requirements
- Basic Linux knowledge
- A Linux server (I recommend at least 4GB of RAM, but it works with 2GB)
- I am going to use a Debian 12 buster.
- Enough storage to store your media
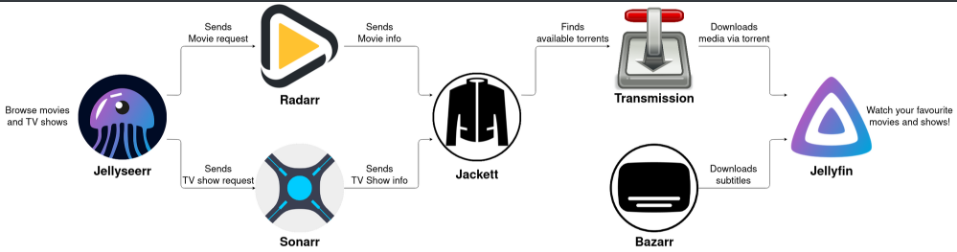
Media Stack
- Jellyfin - streams media from the server to different clients.
- Sonarr - manages TV shows (and anime) and sends requests to Jackett.
- Radarr - manages movies and sends requests to Jackett.
- Jackett - parses results coming from Radarr and Sonarr and finds available torrents for such media.
- We can use prowlarr instead of jackett, but I didn’t find much about indexers in other languages.
- Transmission - torrent client to download media.
- We can use any other torrent client like qBittorrent, etc…
Jellyseerr - webapp for users to discover and request movies and TV shows.
- Build on docker: Guide
Installations
Oficial Documentations:
- JellyFin
- Radarr
- Sonarr
- JellySeer
JellyFin
- EIn terminal we execute:
1
curl https://repo.jellyfin.org/install-debuntu.sh | sudo bash - Once installed we will have access via web (http://ip-machine:8096)
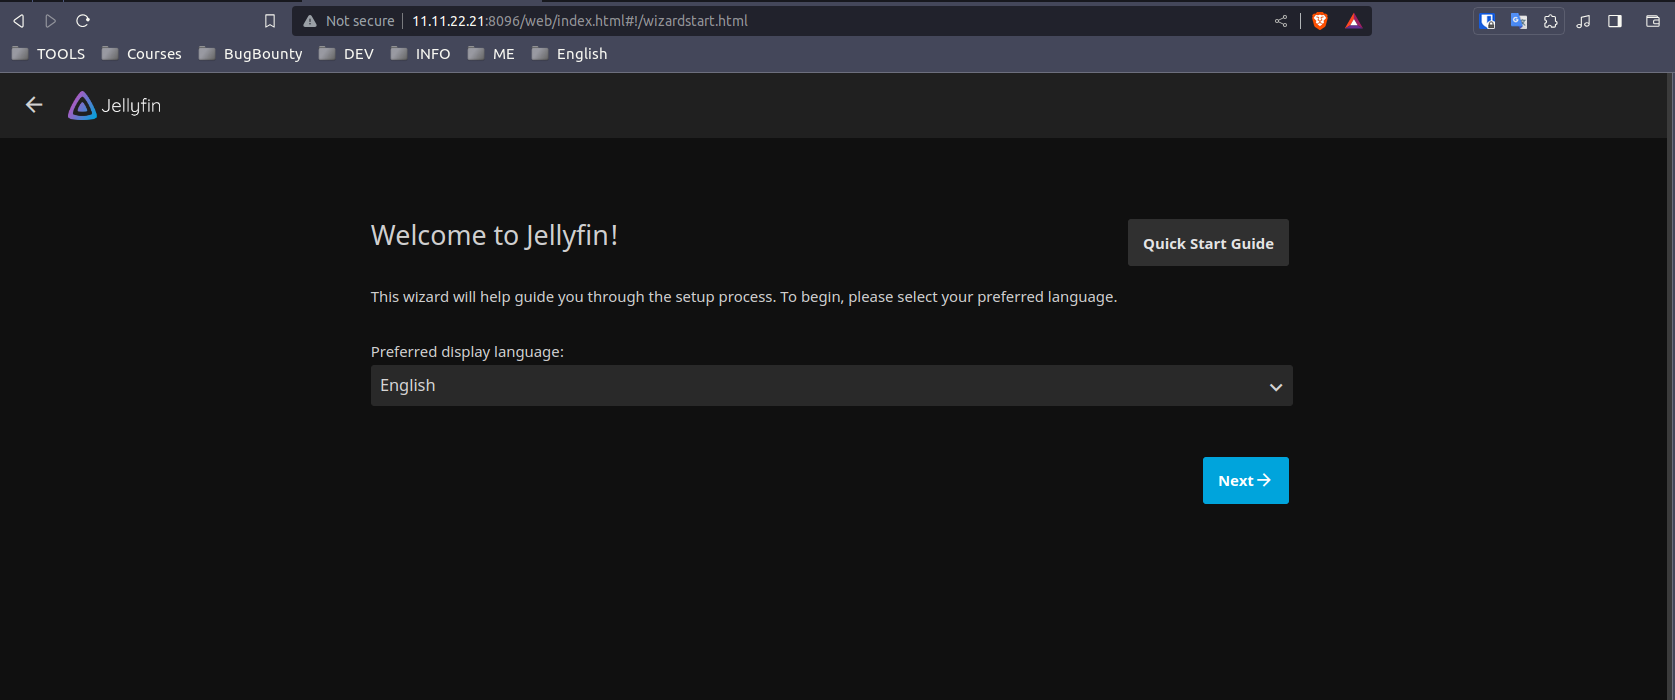
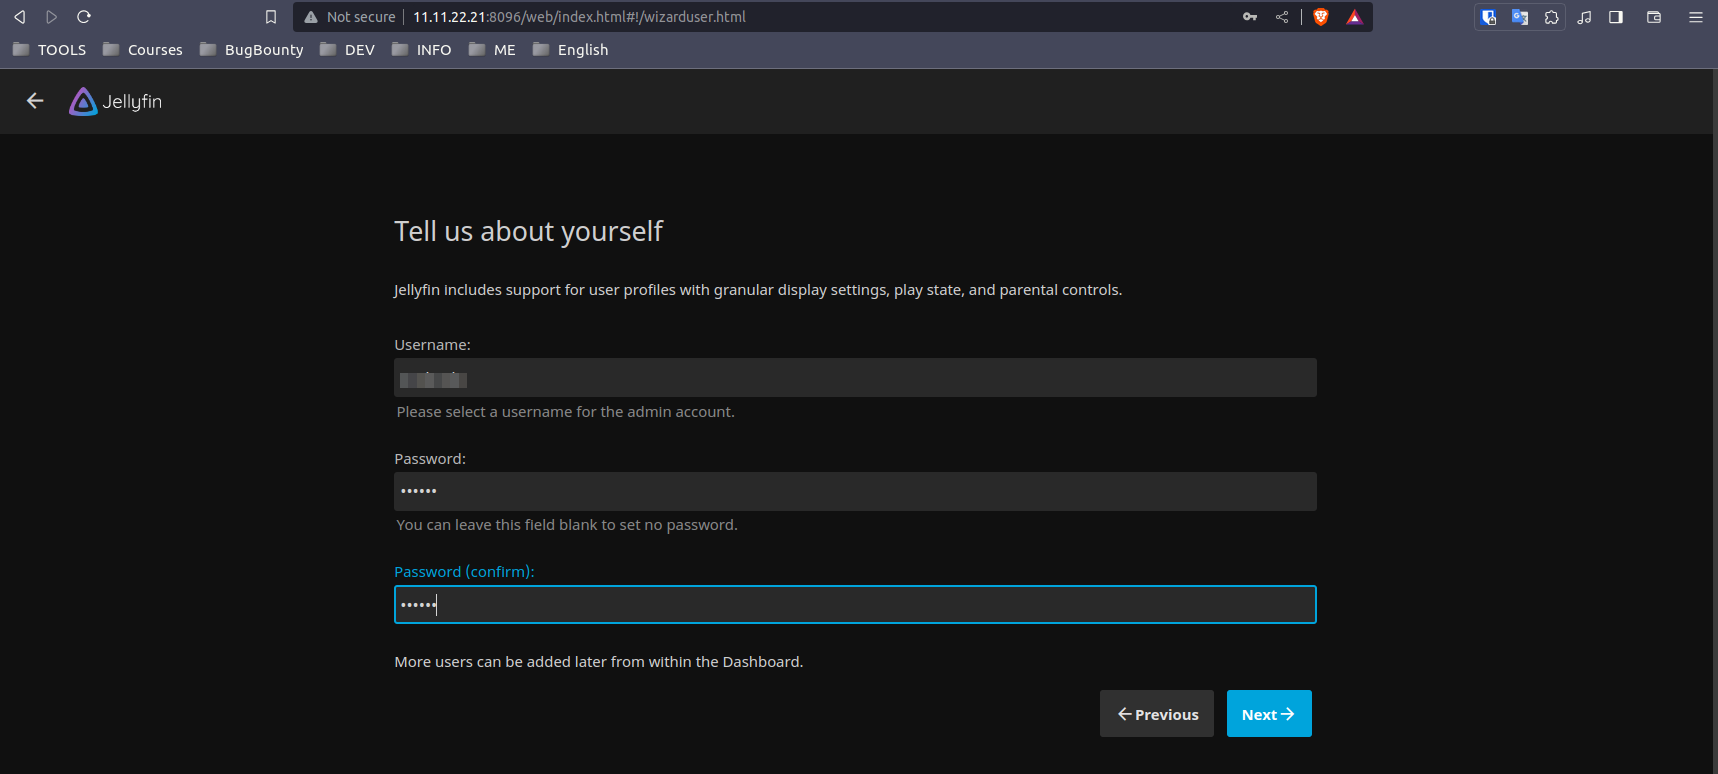
Create an account
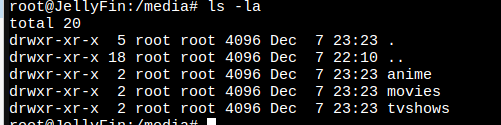
- We are going to configure the paths where jellyfin will take the movies, series, etc… we need to create them in the O.S. and then we follow jellyfin’s steps.
1
2
3
mkdir /media/movies
mkdir /media/anime
mkdir /media/tvshows
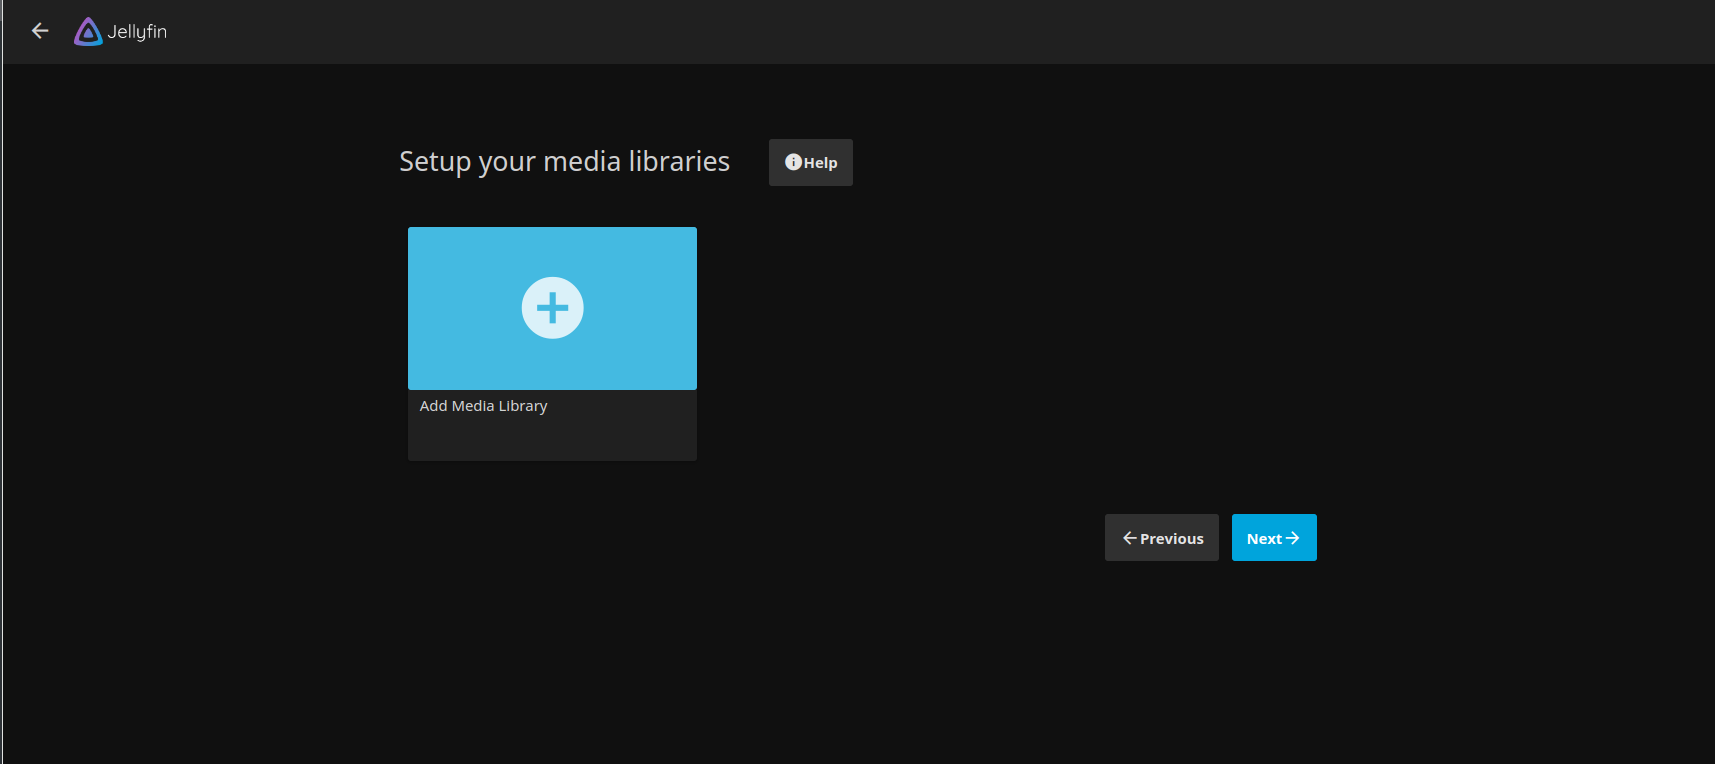
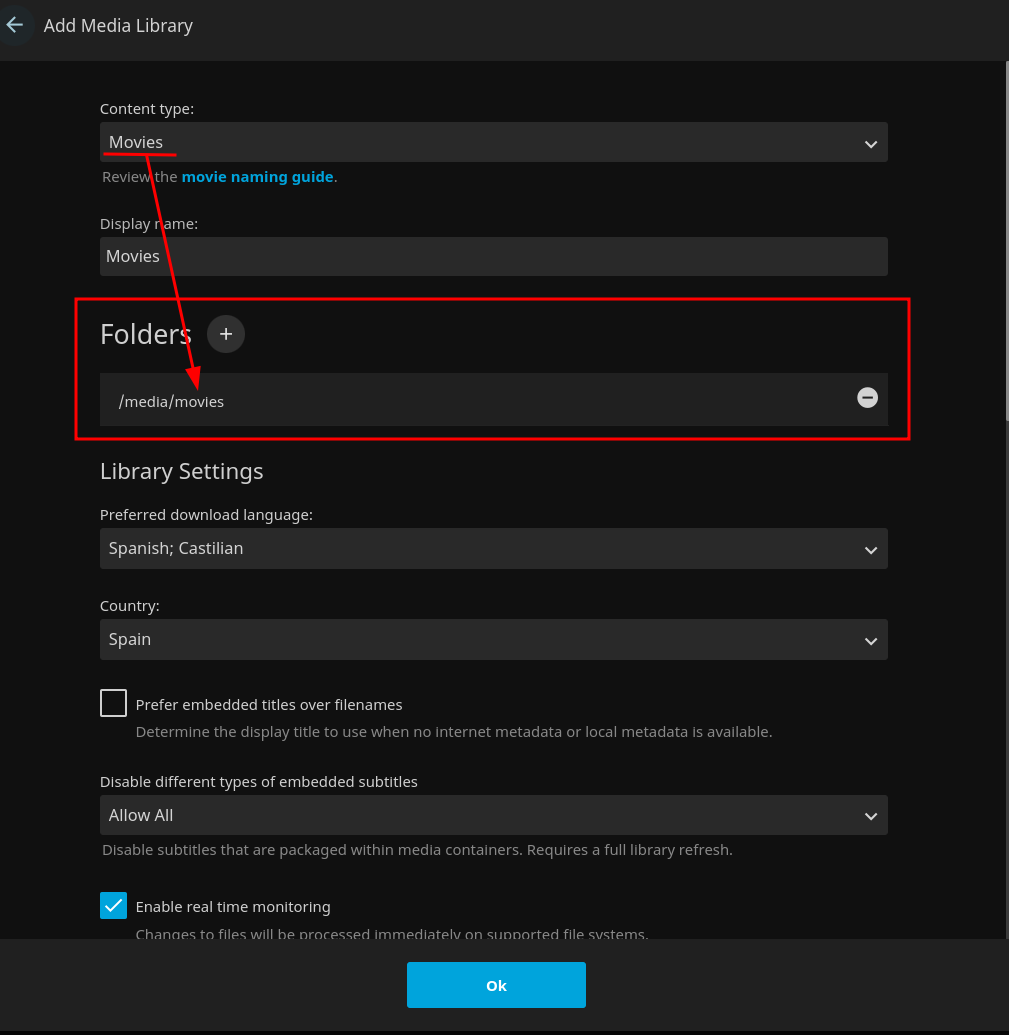
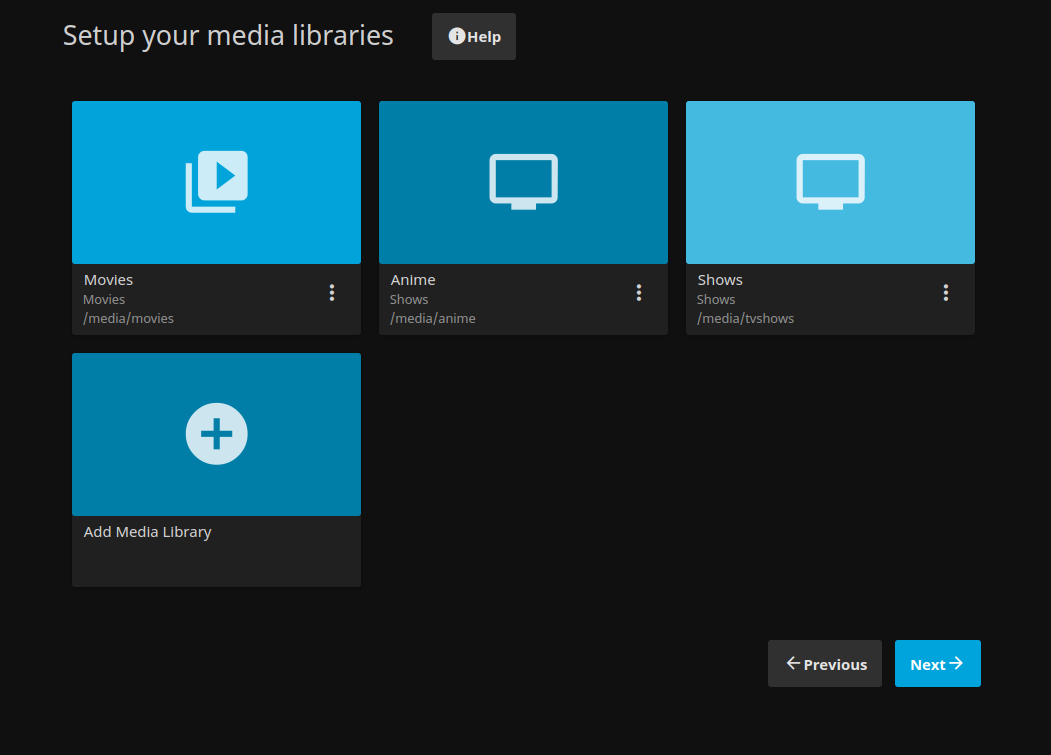
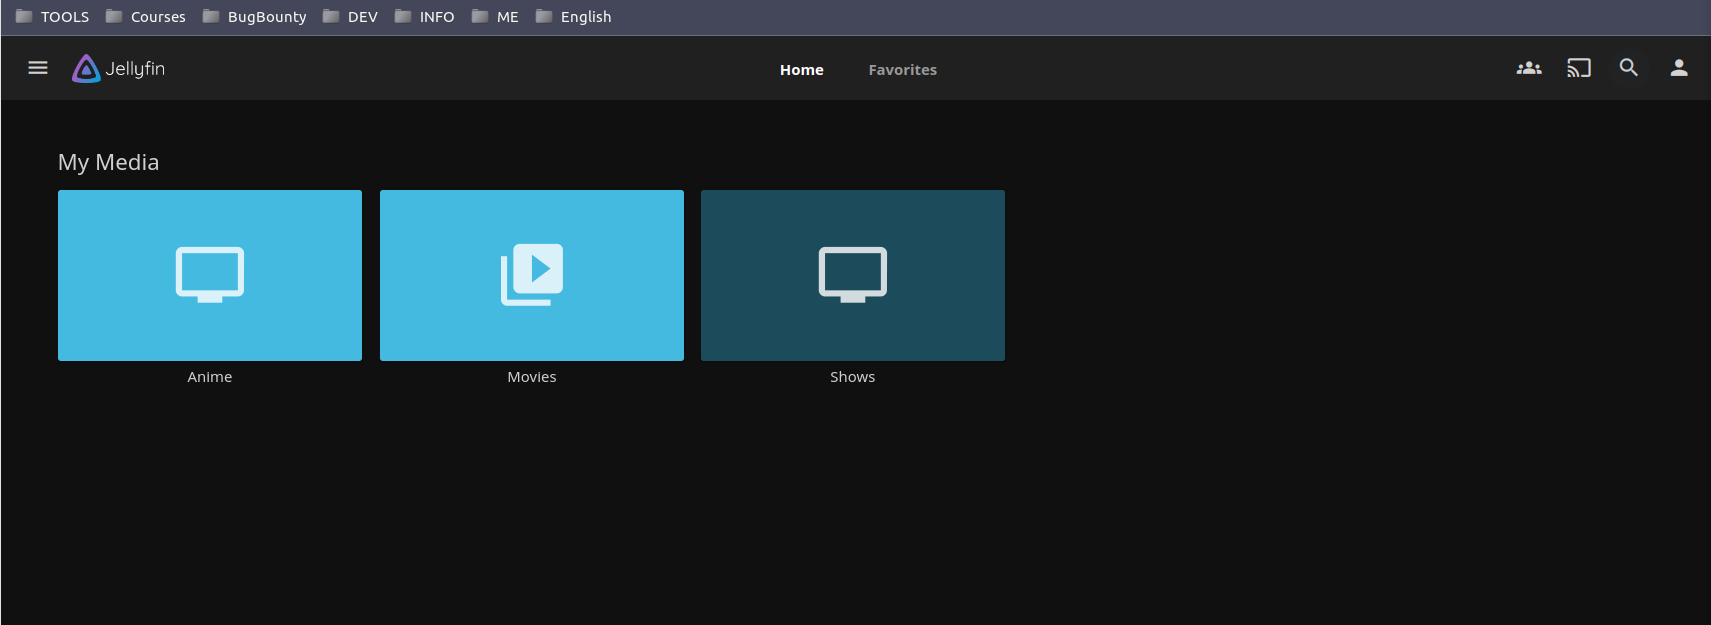
I create 3 libraries ( movies, anime, shows )
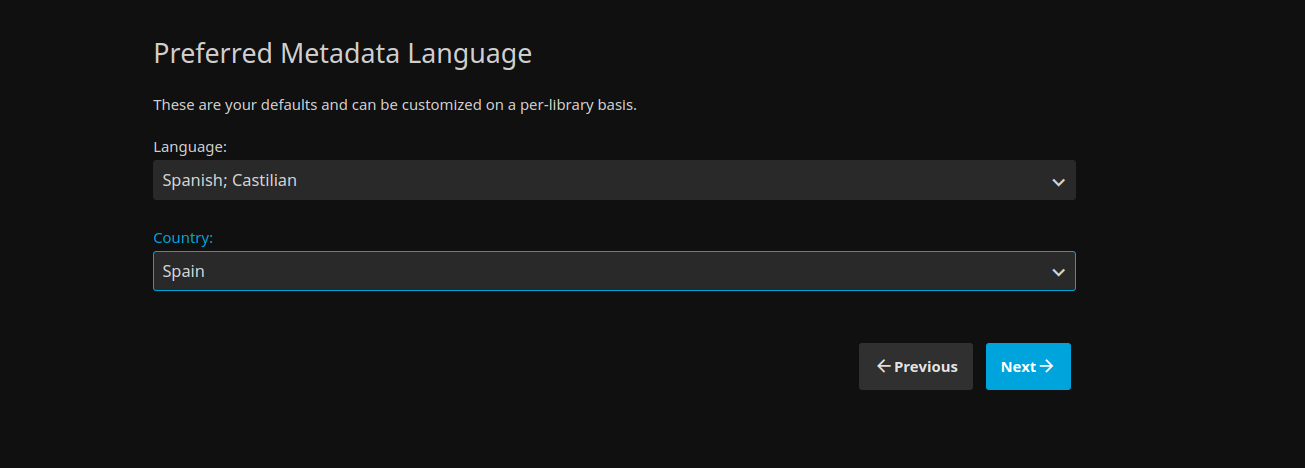
Set our preferred metadata Language
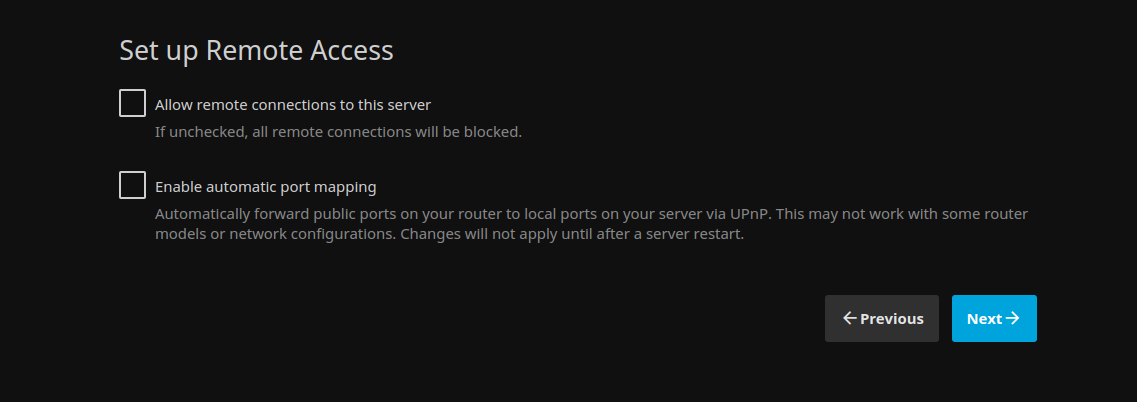
If we want to access from another network, we select “allow remote…”, if we are going to see it from localhost, we deselect it.
And.., that´s done! 
Now, you can select your jellyfIn server, and login it.
Transmission
- In terminal we execute:
1
2
3
sudo apt install transmission-cli transmission-daemon
sudo systemctl restart transmission-daemon
sudo systemctl enable transmission-daemon
- With this, we will have streaming available in the web panel http://ip-maquina:9091/ but first we need to configure a couple of things:
- We stop the service
1
sudo systemctl stop transmission-daemon - Edit the configuration file
- We stop the service
1
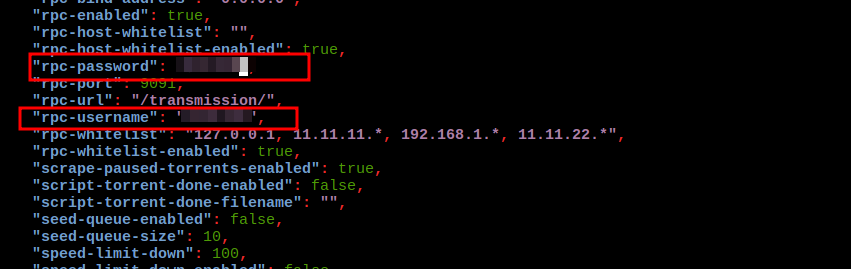
sudo nano /etc/transmission-daemon/settings.json
- Add networks to the whitelist, in my case:

Change user and password for better security:
We raise the service again, we will see an alert to log in:
1
sudo systemctl start transmission-daemon

Jackett
1
2
3
4
5
6
7
adduser jackett

cd /opt && f=Jackett.Binaries.LinuxAMDx64.tar.gz && release=$(wget -q https://github.com/Jackett/Jackett/releases/latest -O - | grep "title>Release" | cut -d " " -f 4) && sudo wget -Nc https://github.com/Jackett/Jackett/releases/download/$release/"$f" && sudo tar -xzf "$f" && sudo rm -f "$f" && cd Jackett*

chown jackett:jackett -R "/opt/Jackett"

sudo ./install_service_systemd.sh && systemctl status jackett.service && cd - && echo -e "\nVisit http://127.0.0.1:9117"
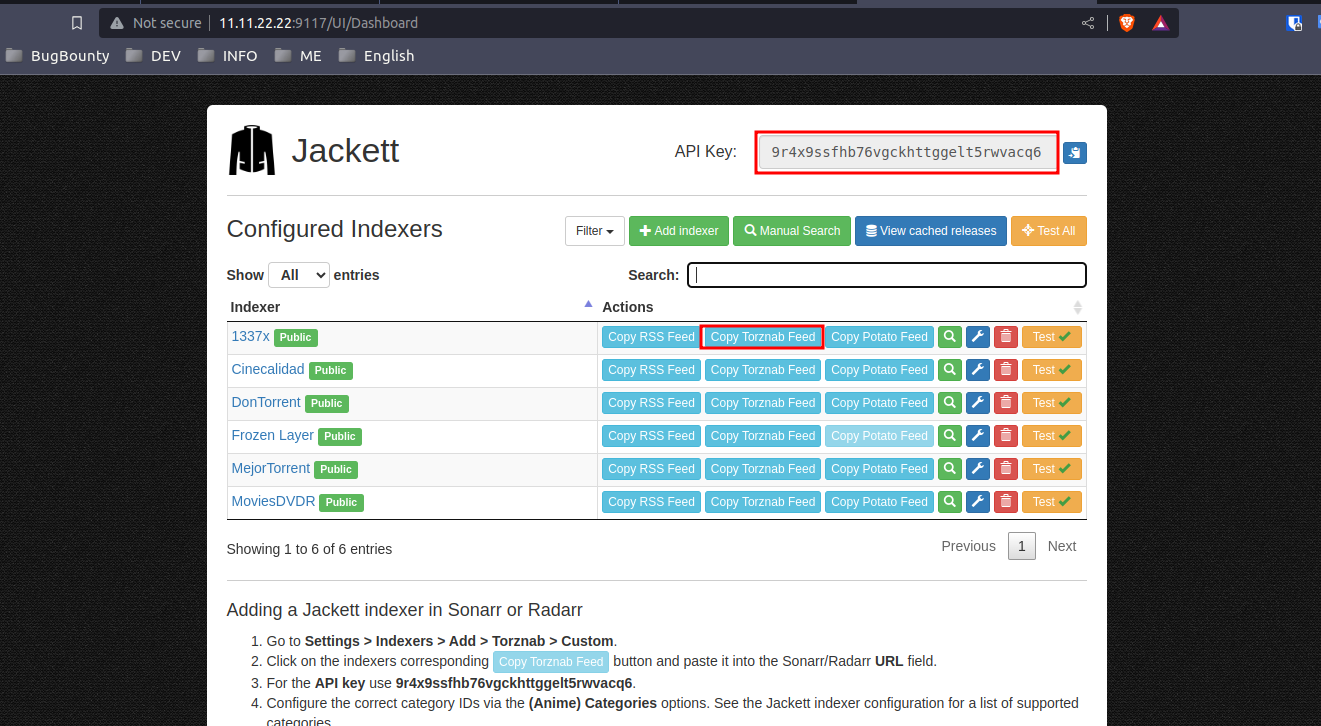
- With this we will be able to see in our browser from http://ip-machine:9117:
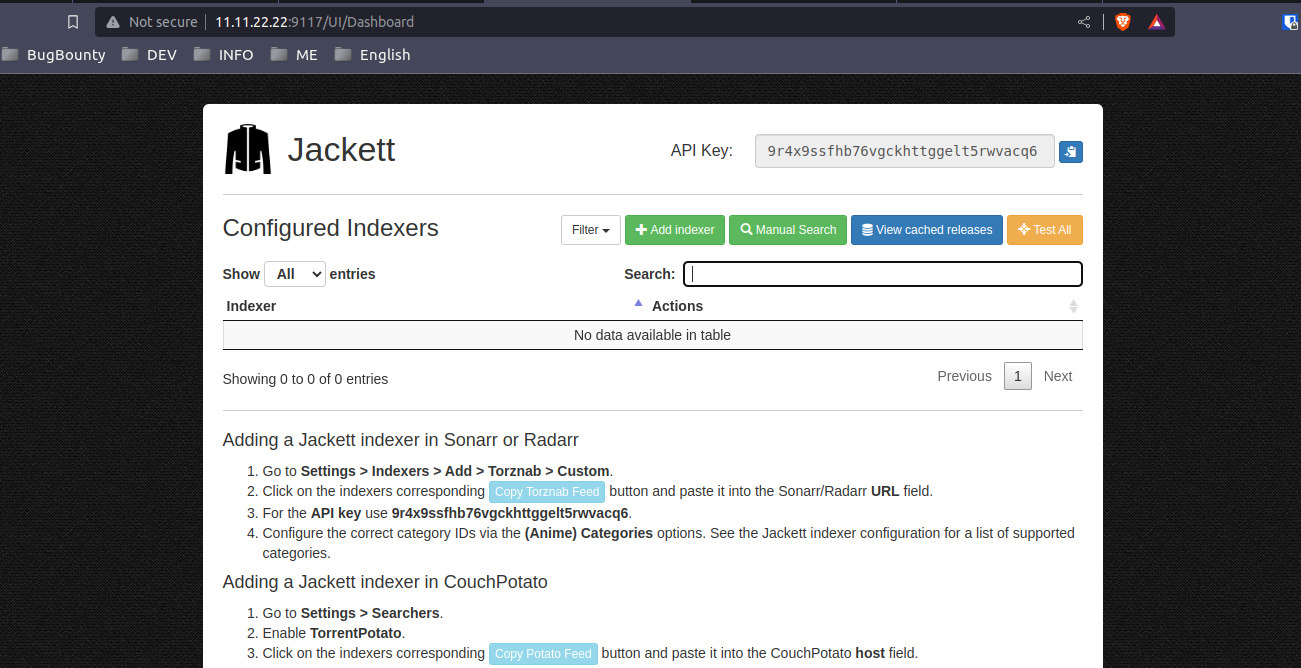
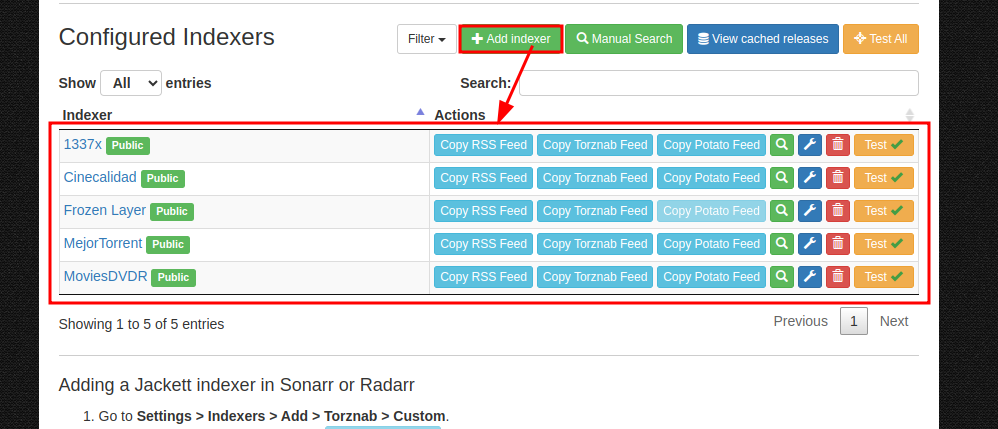
Add as many indexers as you want:
Radarr
1
sudo groupadd media && sudo adduser radarr --ingroup media
- We install requirements:
1
sudo apt install curl sqlite3
- Download the correct binaries for your architecture.
- You can determine your architecture with
dpkg --print-architecture- AMD64 use
arch=x64 - ARM, armf, and armh use
arch=arm - ARM64 use
arch=arm64
- AMD64 use
1
wget --content-disposition 'http://radarr.servarr.com/v1/update/master/updatefile?os=linux&runtime=netcore&arch=x64'
- Uncompress the files:
1
tar -xvzf Radarr*.linux*.tar.gz
- Move the files to
/opt/
1
sudo mv Radarr /opt/
- Ensure ownership of the binary directory.
1
sudo chown radarr:media -R /opt/Radarr
- Configure systemd so Radarr can autostart at boot.
1
2
3
4
5
6
7
8
9
10
11
12
13
14
15
16
cat << EOF | sudo tee /etc/systemd/system/radarr.service > /dev/null
	[Unit]
	Description=Radarr Daemon
	After=syslog.target network.target
	[Service]
	User=radarr
	Group=media
	Type=simple

	ExecStart=/opt/Radarr/Radarr -nobrowser -data=/var/lib/radarr/
	TimeoutStopSec=20
	KillMode=process
	Restart=on-failure
	[Install]
	WantedBy=multi-user.target
EOF
Nos aseguramos que /var/lib/radarr, exista y el usuario radarr tenga permisos dentro, si no es así lo creamos a mano con mkdir y chwon.
- Reload systemd
1
sudo systemctl -q daemon-reload
- Enable the radarr Service
1
sudo systemctl enable --now -q radarr
- [Optional] Remove the .tar:
1
	rm Radarr*.linux*.tar.gz
Browse to http://ip-machine:7878 to start using Radarr.
- If Radarr did not appear to start, then check the status of the service:
1
sudo journalctl --since today -u radarr
Sonarr
1
2
3
4
5
sudo apt-key adv --keyserver hkp://keyserver.ubuntu.com:80 --recv-keys 2009837CBFFD68F45BC180471F4F90DE2A9B4BF8

echo "deb https://apt.sonarr.tv/debian buster main" | sudo tee /etc/apt/sources.list.d/sonarr.list

sudo apt update
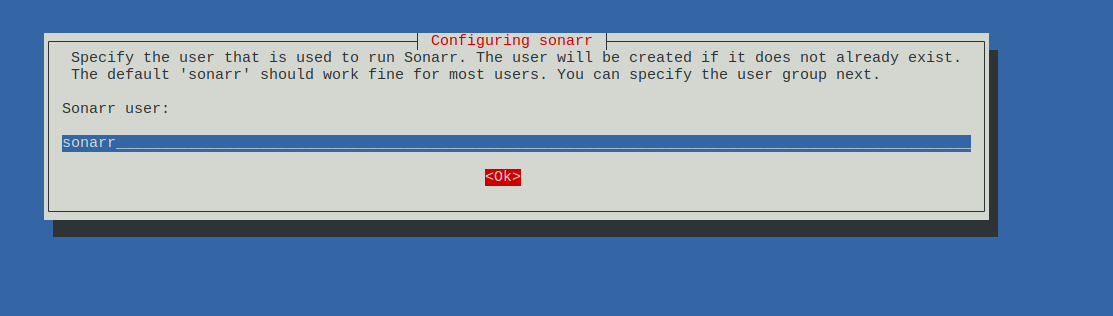
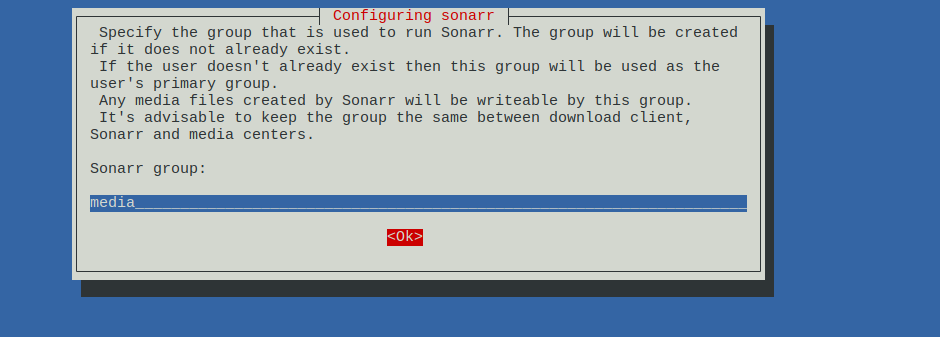
During the installation, you will be asked which user and group Sonarr must run as. It’s important to choose these correctly to avoid permission issues with your media files. We suggest you keep at least the group name identical between your download client(s) and Sonarr. If you need to correct these after installation, please run
dpkg-reconfigure sonarr. See debconf for more information.
1
sudo apt install sonarr
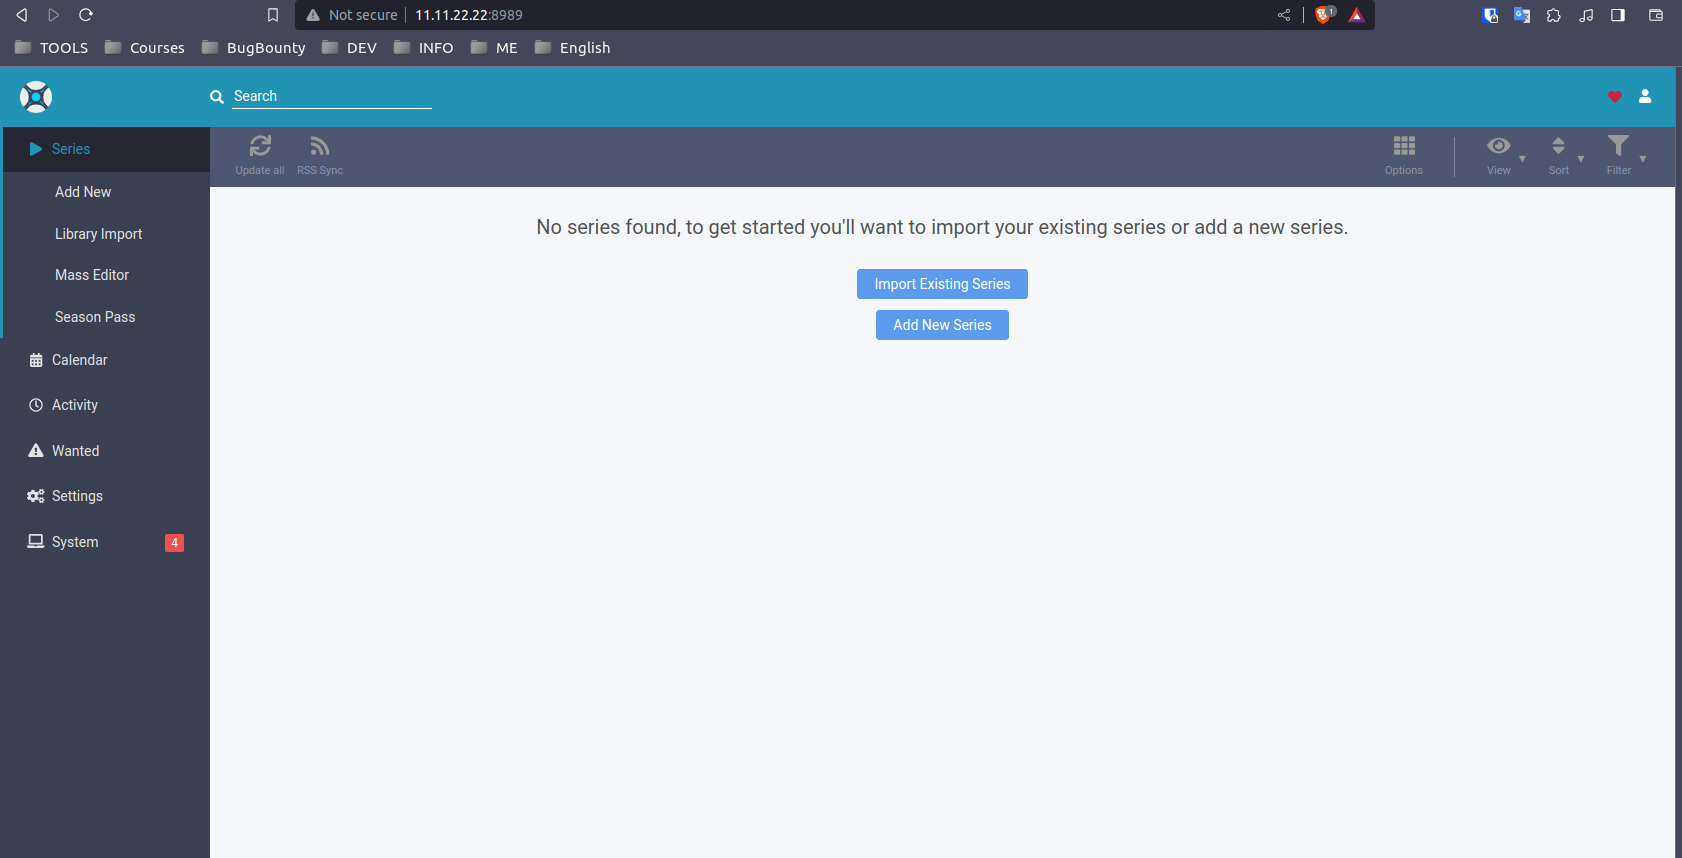
Browse to http://ip-machine:8989 to start using Sonarr.
JellySeer
1
2
3
4
5
6
7
8
9
10
11
12
13
14
15
sudo apt install -y curl dirmngr apt-transport-https lsb-release ca-certificates

# Agrega la clave GPG del repositorio oficial de Node.js
curl -sL https://deb.nodesource.com/gpgkey/nodesource.gpg.key | sudo gpg --dearmor -o /usr/share/keyrings/nodesource-archive-keyring.gpg

# Configura el repositorio de Node.js LTS
echo "deb [signed-by=/usr/share/keyrings/nodesource-archive-keyring.gpg] https://deb.nodesource.com/node $(lsb_release -s -c) main" | sudo tee /etc/apt/sources.list.d/nodesource.list

# Actualiza la base de datos de paquetes nuevamente
sudo apt update

# Instala Node.js LTS
sudo apt install -y nodejs npm

npm install -g yarn
- Install dependencies and build it
1
2
3
4
5
git clone https://github.com/Fallenbagel/jellyseerr.git && cd jellyseerr
git checkout main #if you want to run stable instead of develop
yarn install
yarn run build
yarn start
- assuming jellyseerr was cloned to
/opt/and the environmentfile is located at/etc/jellyseerr
- assuming jellyseerr was cloned to
- Service:
1 2 3 4 5 6 7 8 9 10 11 12 13 14 15 16 17 18 19 20 21 22 23 24 25 26 27 28 29 30 31 32 33
cat << EOF | sudo tee /etc/systemd/system/jellyseerr.service > /dev/null [Unit] Description=Jellyseerr Service Wants=network-online.target After=network-online.target [Service] EnvironmentFile=/etc/jellyseerr/jellyseerr.conf Environment=NODE_ENV=production Type=exec Restart=on-failure WorkingDirectory=/opt/jellyseerr ExecStart=/usr/bin/node dist/index.js [Install] WantedBy=multi-user.target EOF
- Service:
- Environmentfile
1
mkdir /etc/jellyseerr
1
2
3
4
5
6
7
8
9
10
11
cat << EOF | sudo tee /etc/jellyseerr/jellyseerr.conf > /dev/null
# Jellyseerr's default port is 5055, if you want to use both, change this.
# specify on which port to listen
PORT=5055

# specify on which interface to listen, by default jellyseerr listens on all interfaces
#HOST=127.0.0.1

# Uncomment if your media server is emby instead of jellyfin.
# JELLYFIN_TYPE=emby
EOF
1
2
sudo systemctl -q daemon-reload
sudo systemctl enable --now -q jellyseerr
Browse to `http://ip-machine:5055 to start using Radarr. 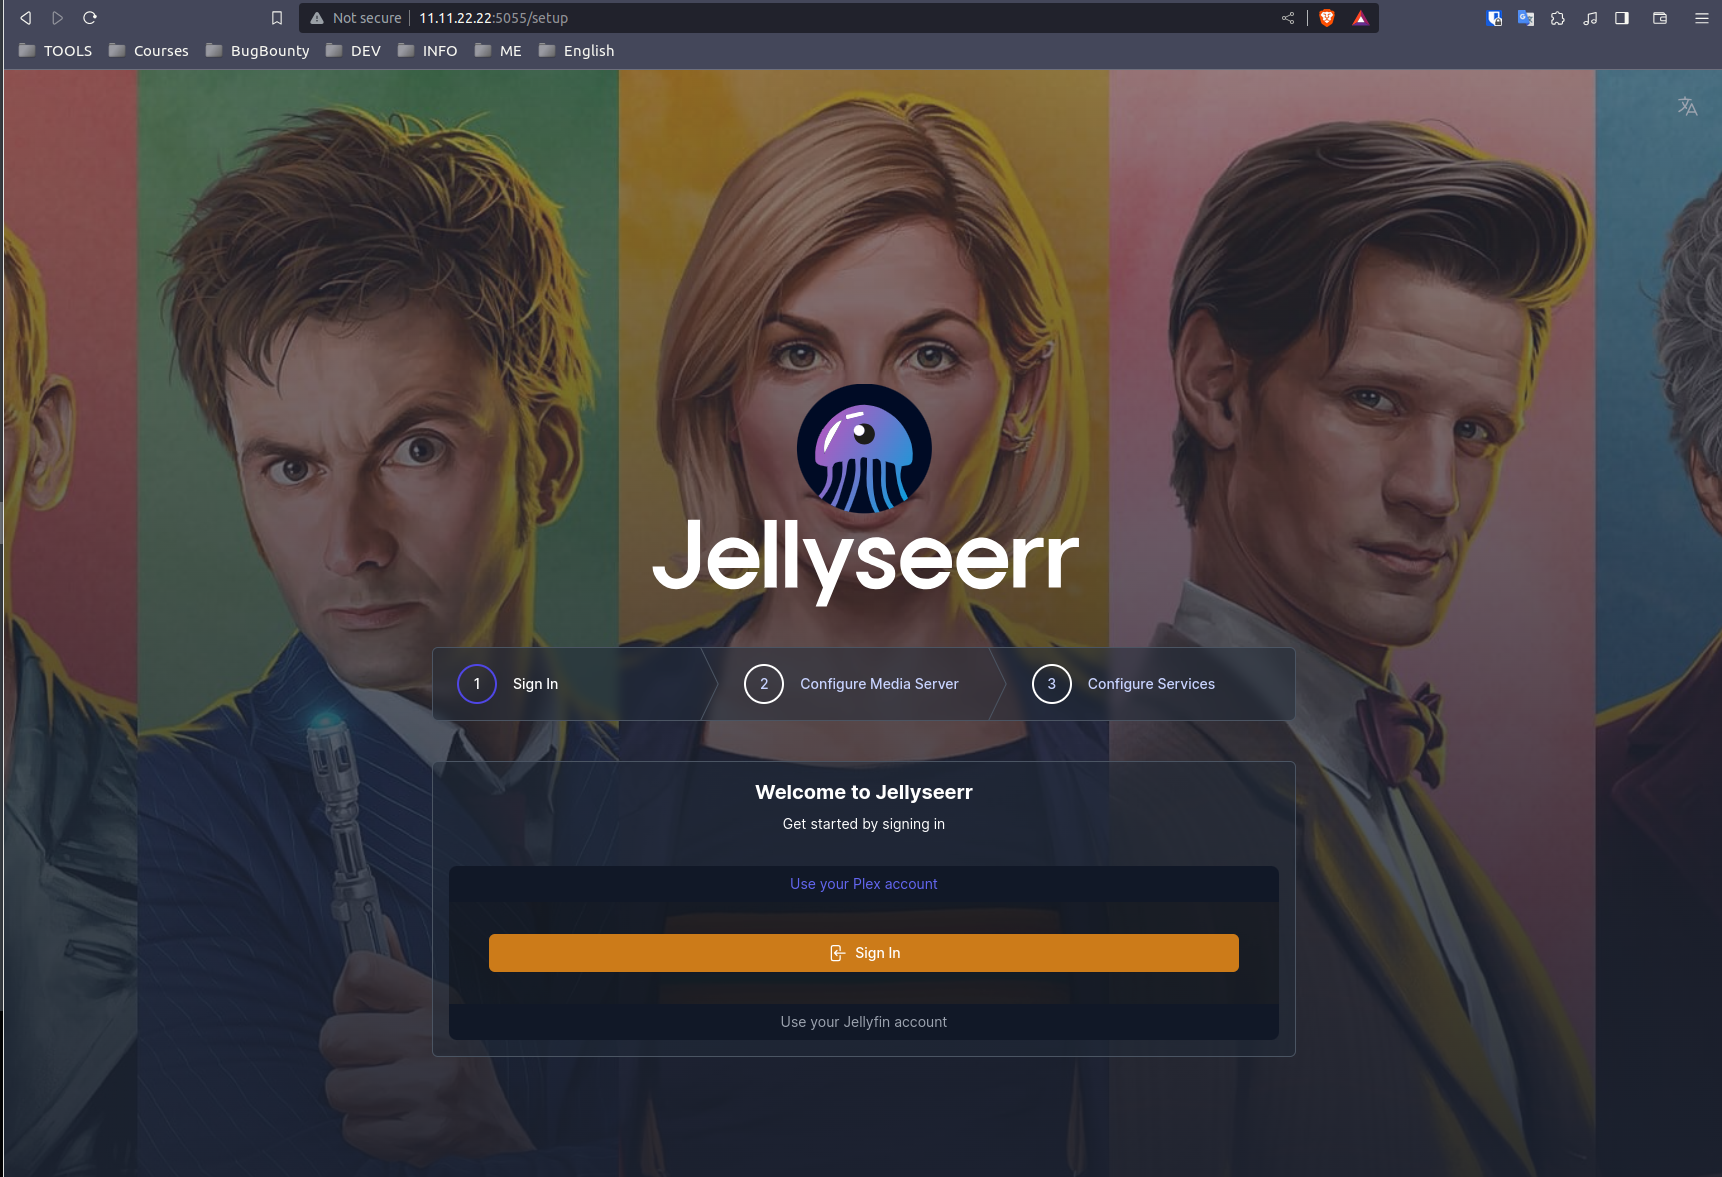
If you get some error:
1
sudo journalctl --since today -u jellyseerr
Configurations
Sonarr & Radarr
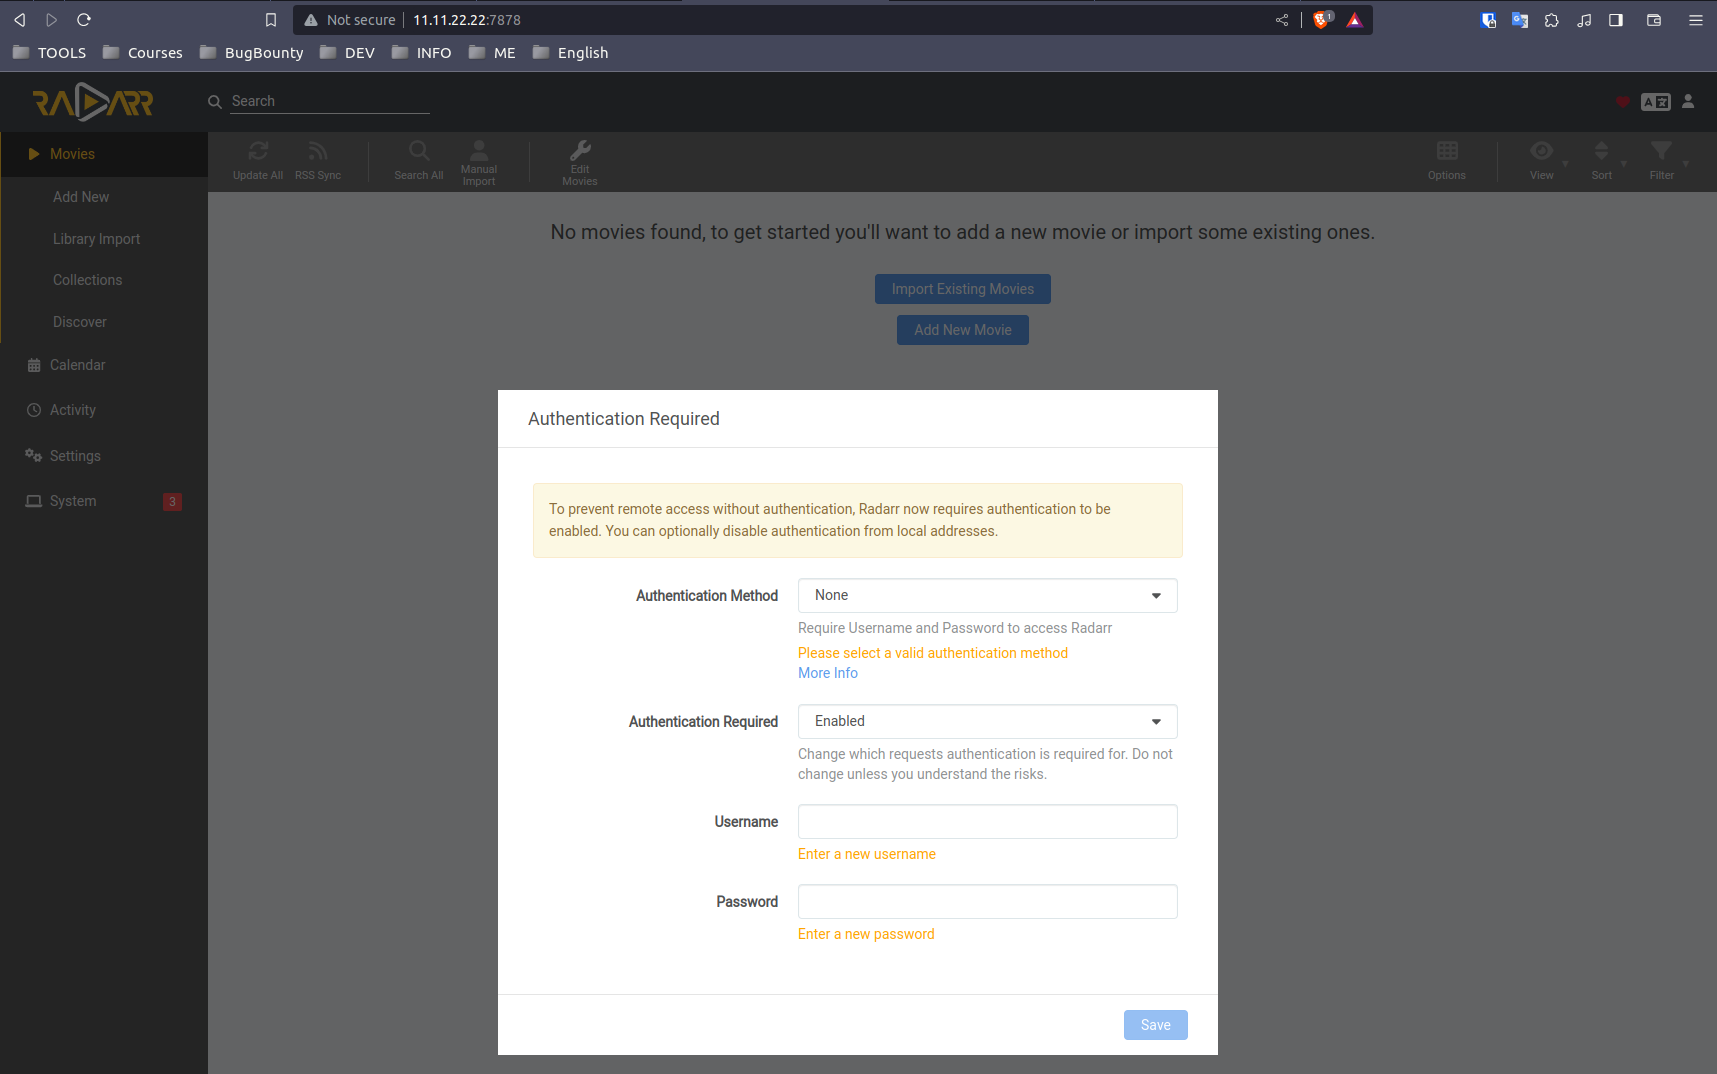
Radarr is a fork of Sonarr so they are both very similar.
Radarr neeed an authentication… 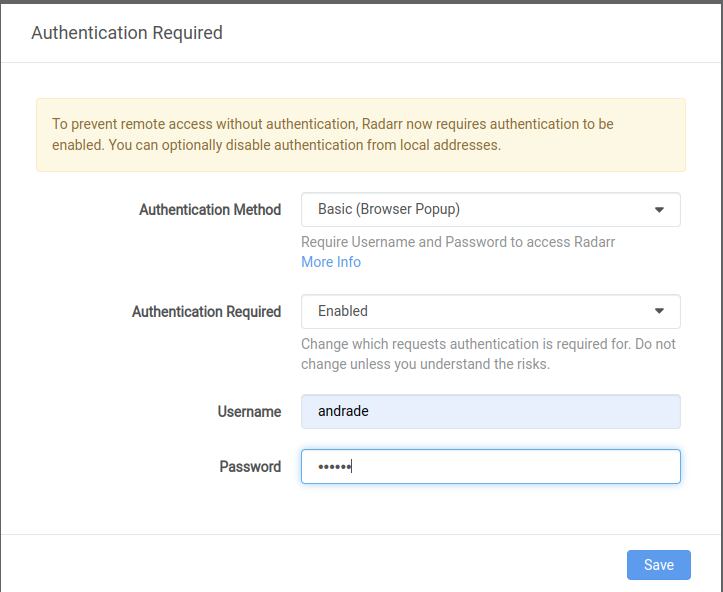
Add download client
Go to Settings > Download Clients and click on the big [+] button. In the next section choose Transmission and configure it like this. Click Test and if successful, save.

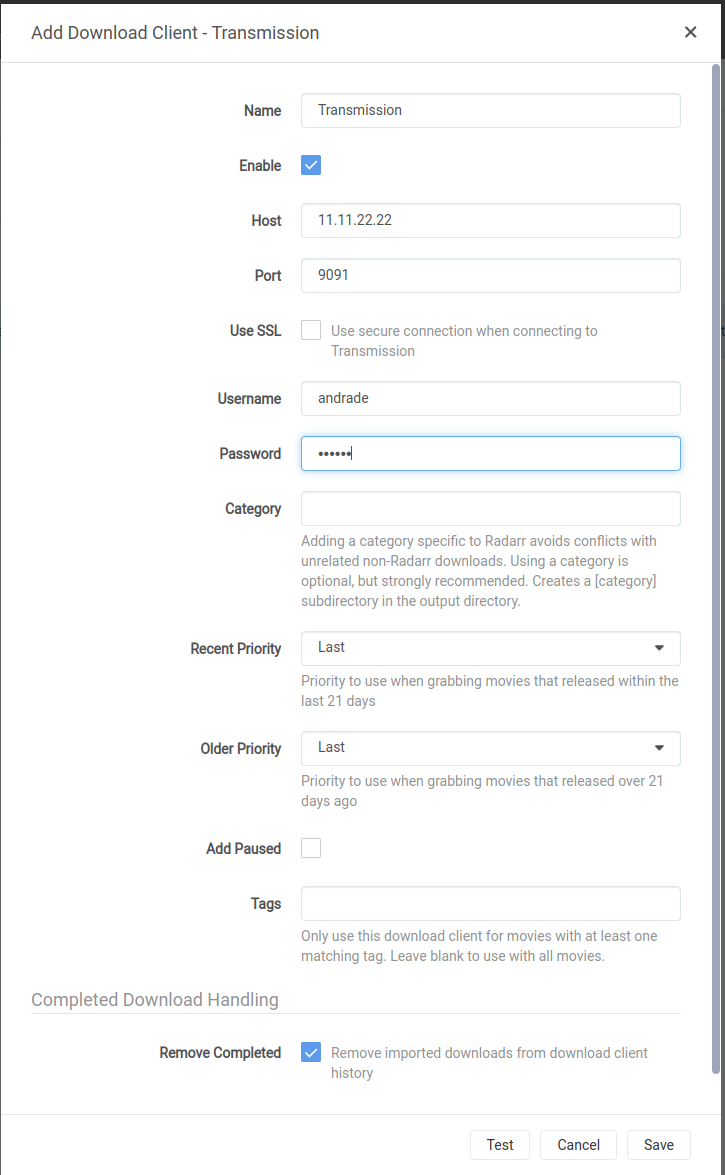
Username and password are the same that we use to login on transmision popup, if you don´t set any, you are using default credentials see on: `/etc/transmission-daemon/settings.json
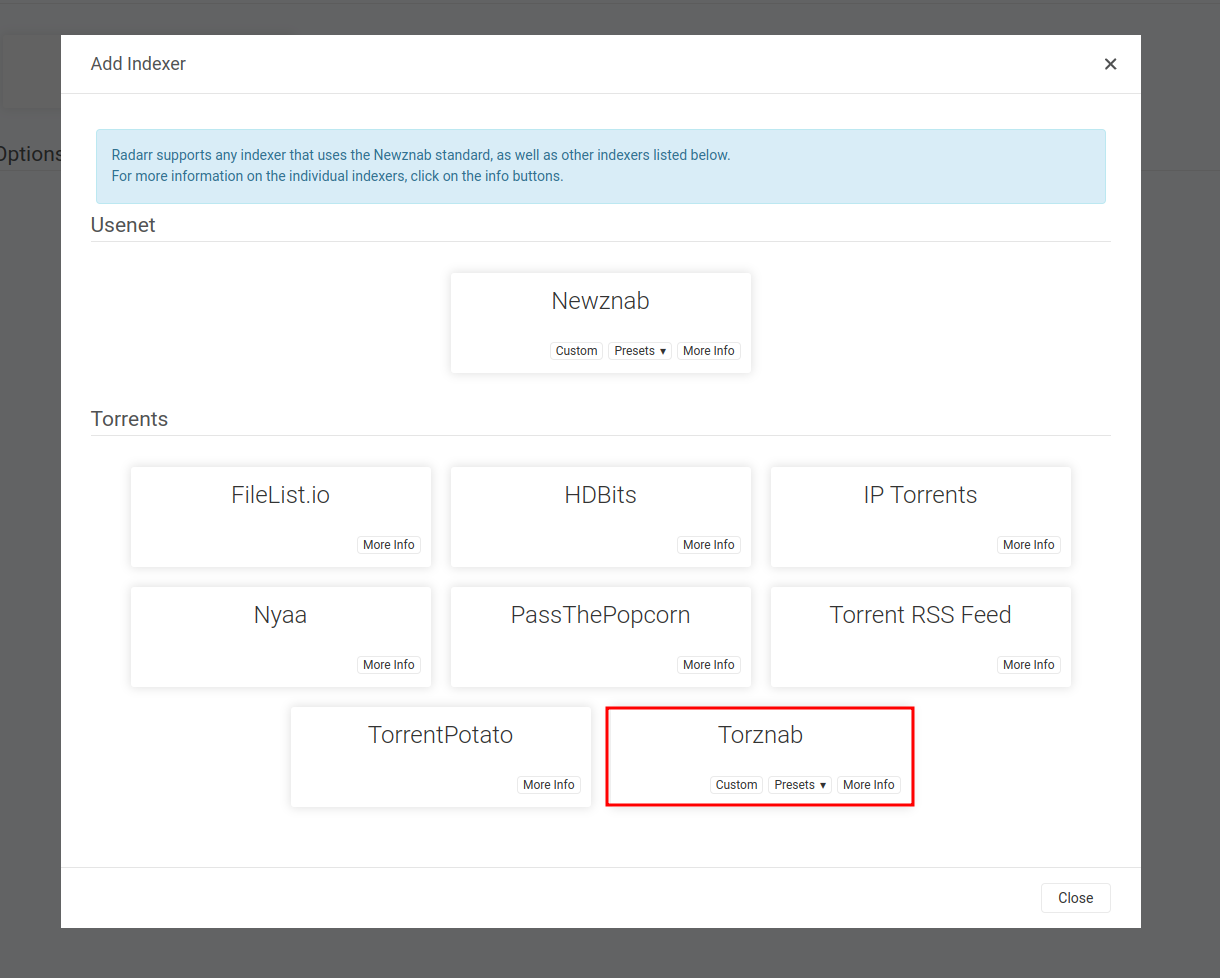
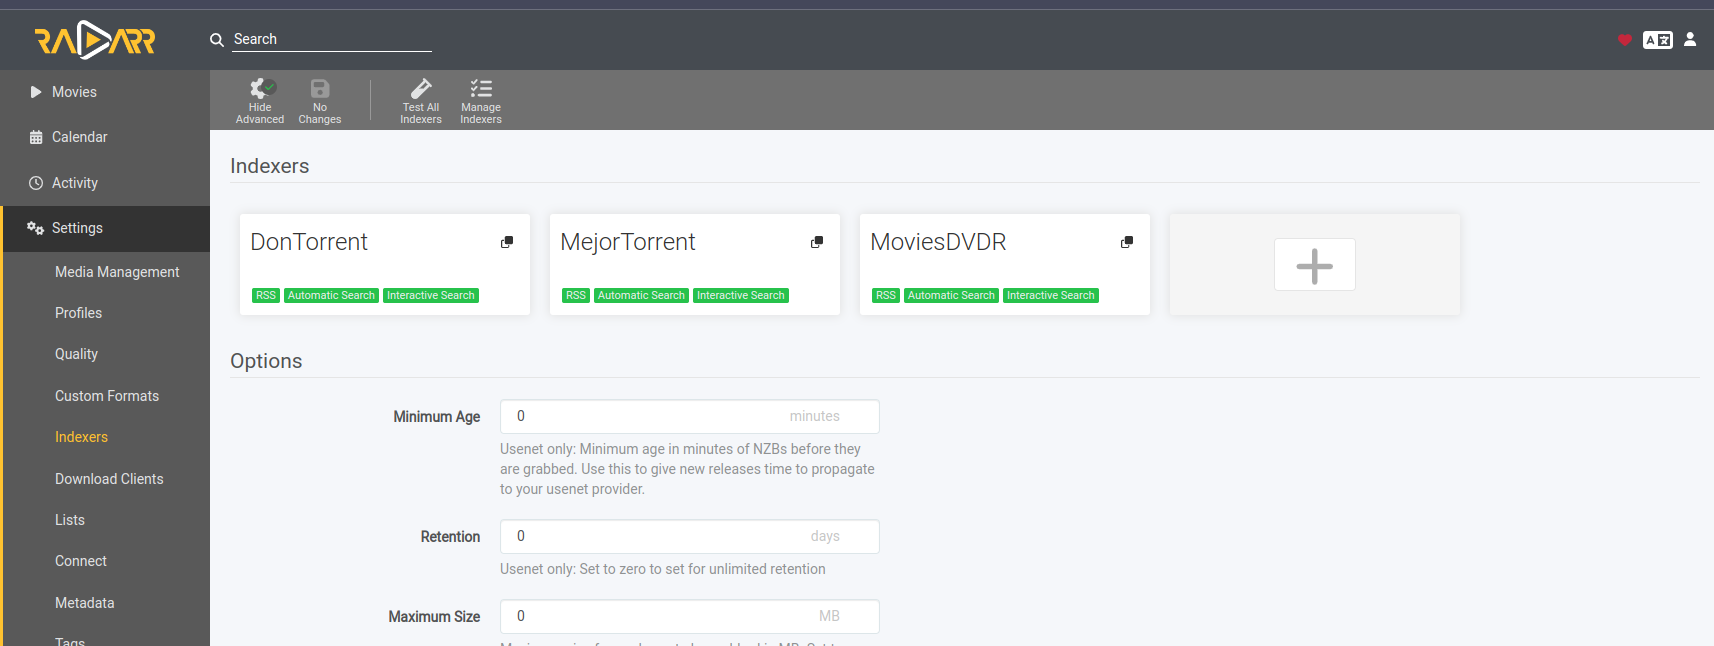
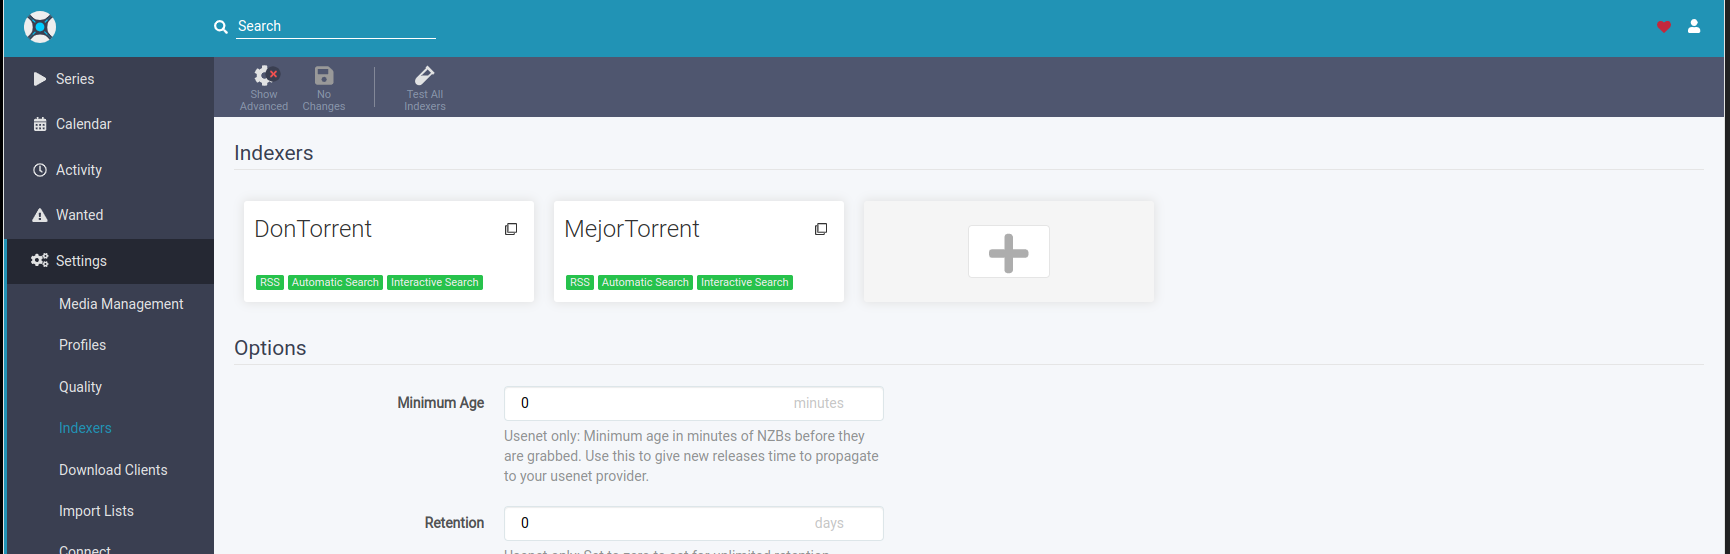
Add indexers
Go to Settings > Indexers and click on the big [+] button. In the next section choose Torznab. Go to Jackett and copy-paste both the Jackett API key and the Indexer Torznab feed URL.
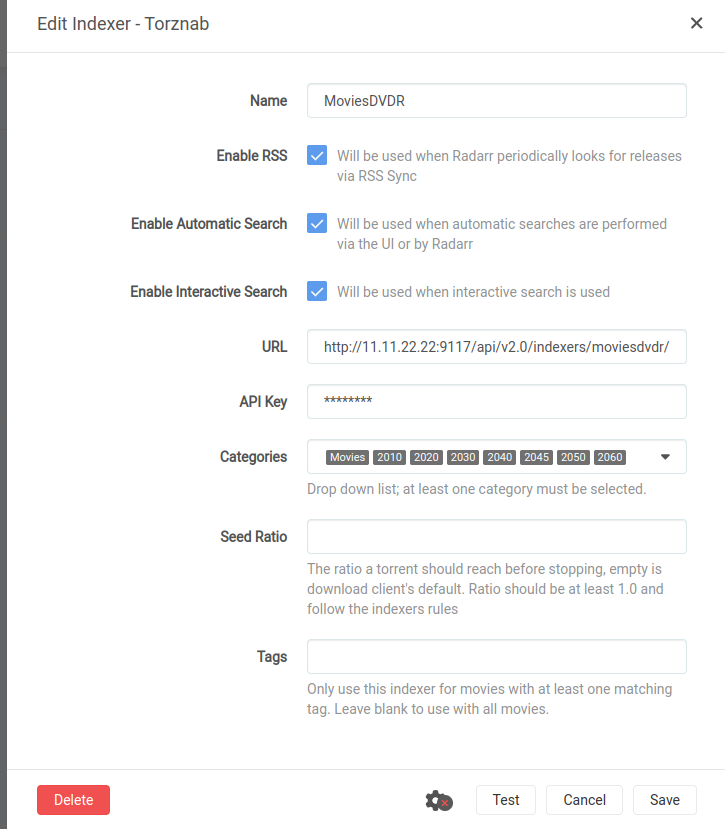
Some indexers will give error, this can be because the torrent we are indexing is down, it is not for movies (if we are in radarr) or it is not for series (if we are in sonarr).
Add as many indexers as you like.
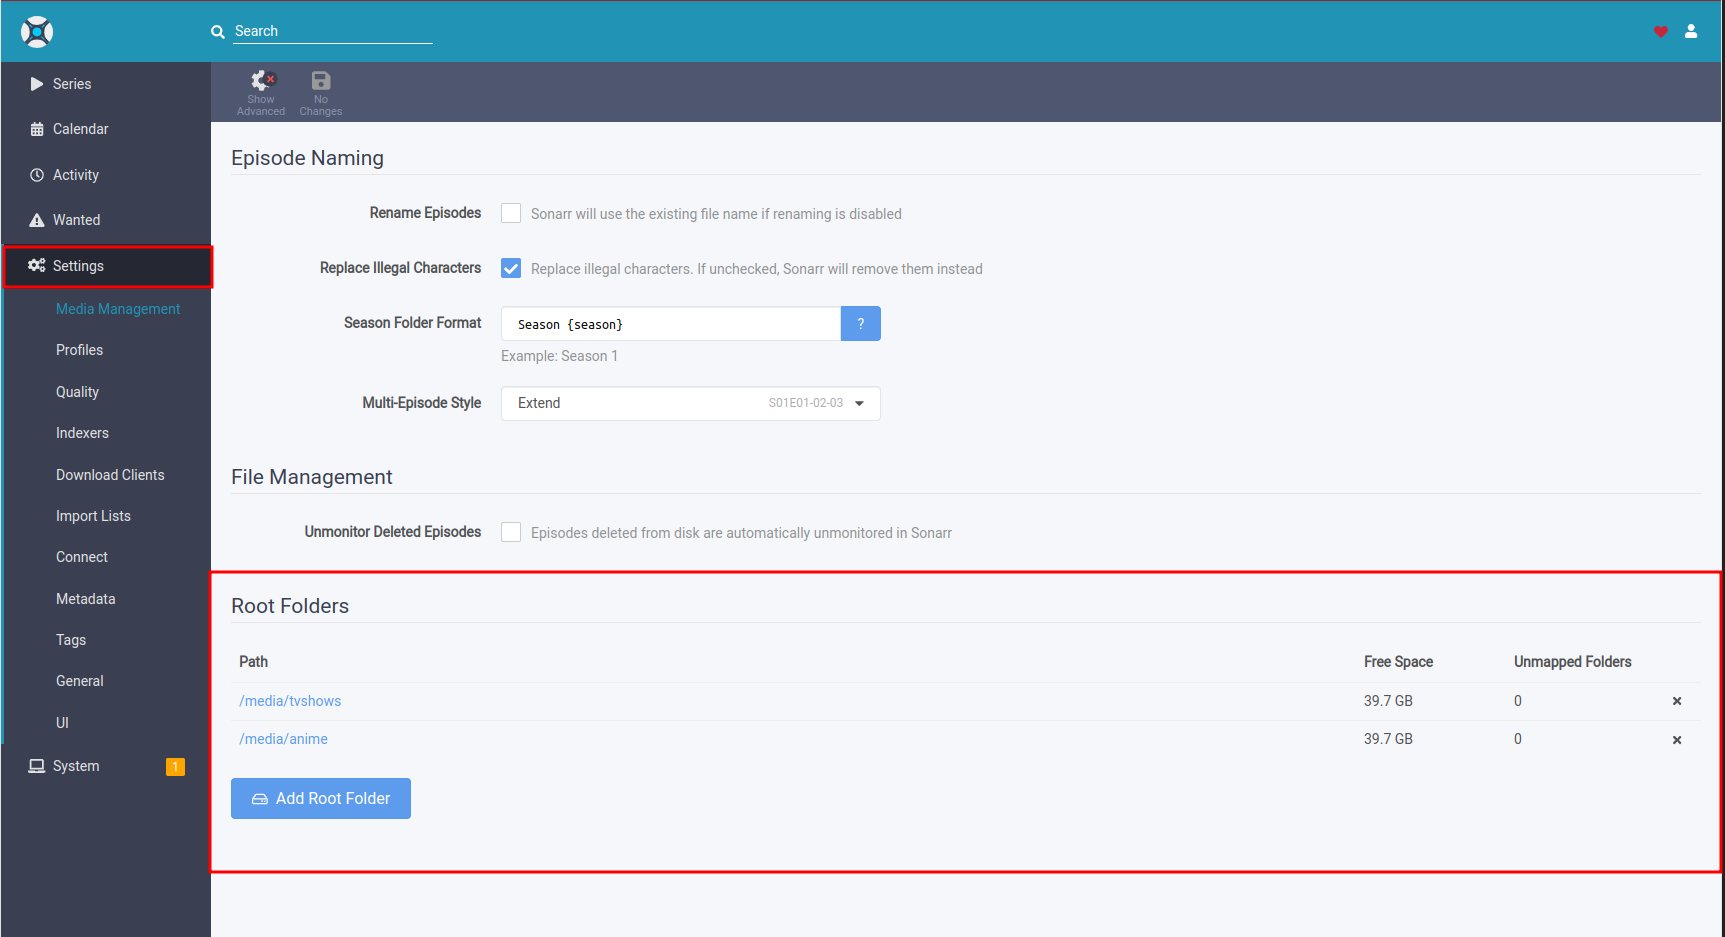
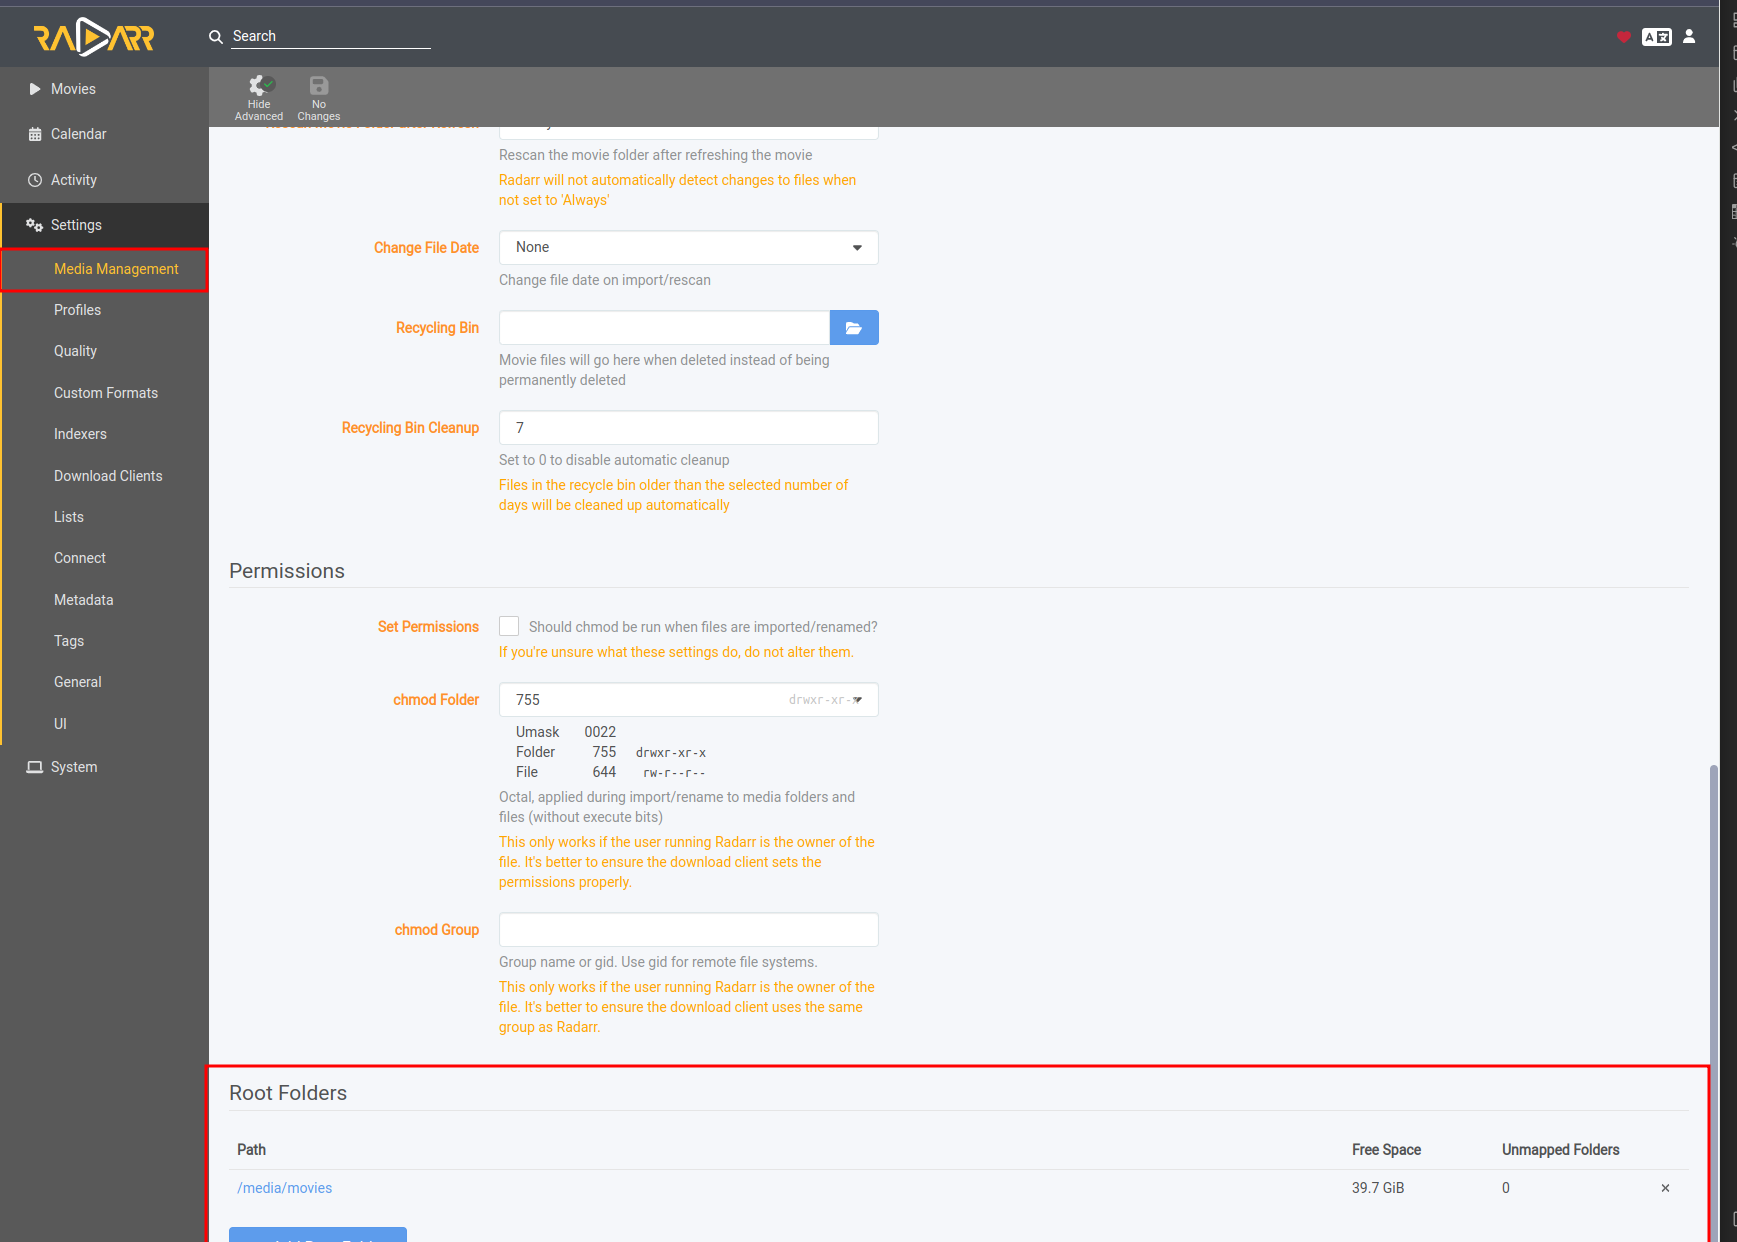
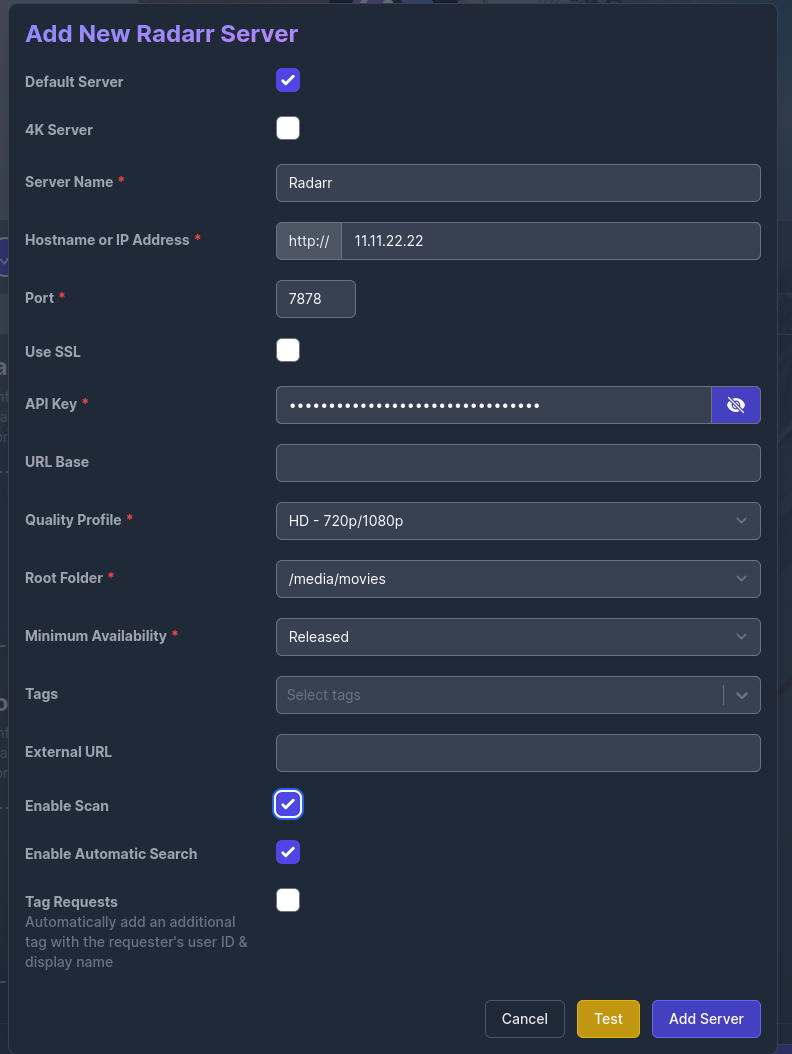
Add directories
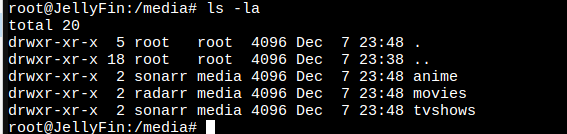
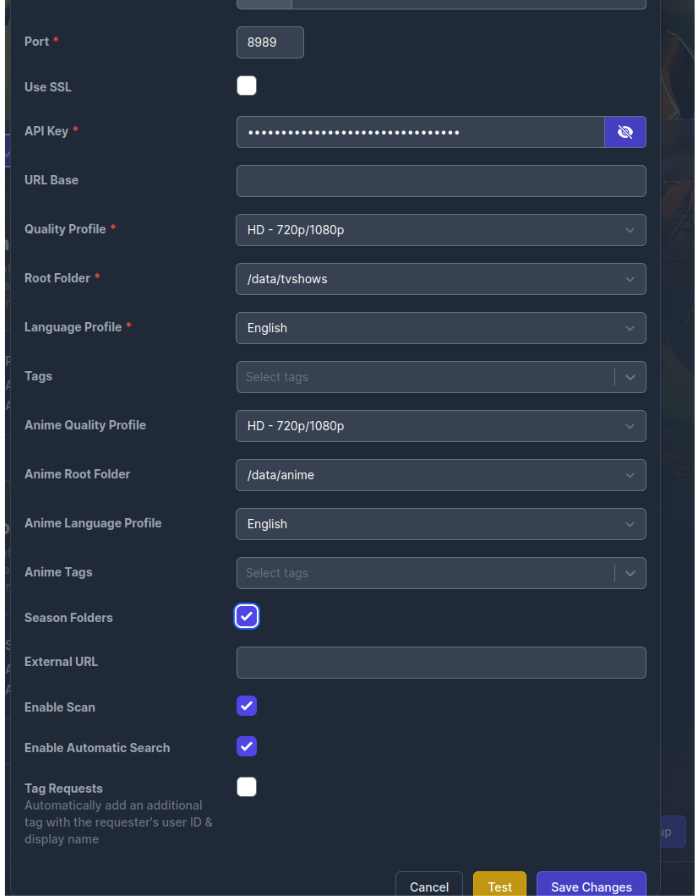
Go to Settings > Media Management and click on the blue Add Root Folder button. Add /anime and /tvshows for Sonarr, and /movies for Radarr.
1
2
3
$ sudo chown -R sonarr:media /media/anime
$ sudo chown -R sonarr:media /media/tvshows/
$ sudo chown -R radarr:media /media/movies/
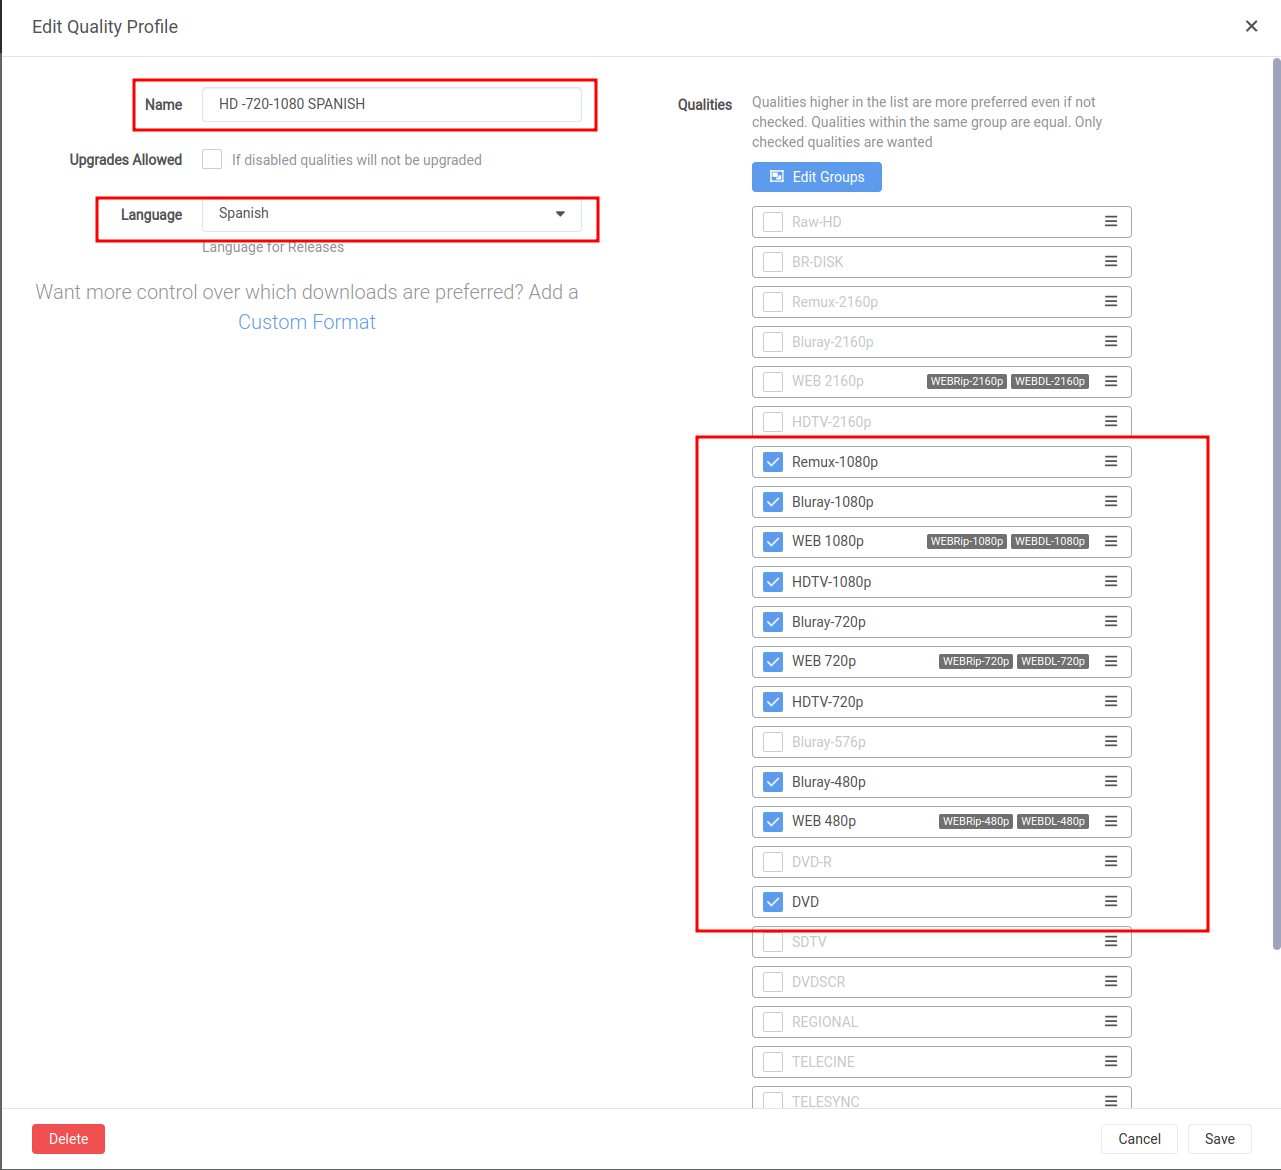
Create new profile
This is to be able to download content in Spanish, with the quality that we mark. We can see it in Settings > Profiles
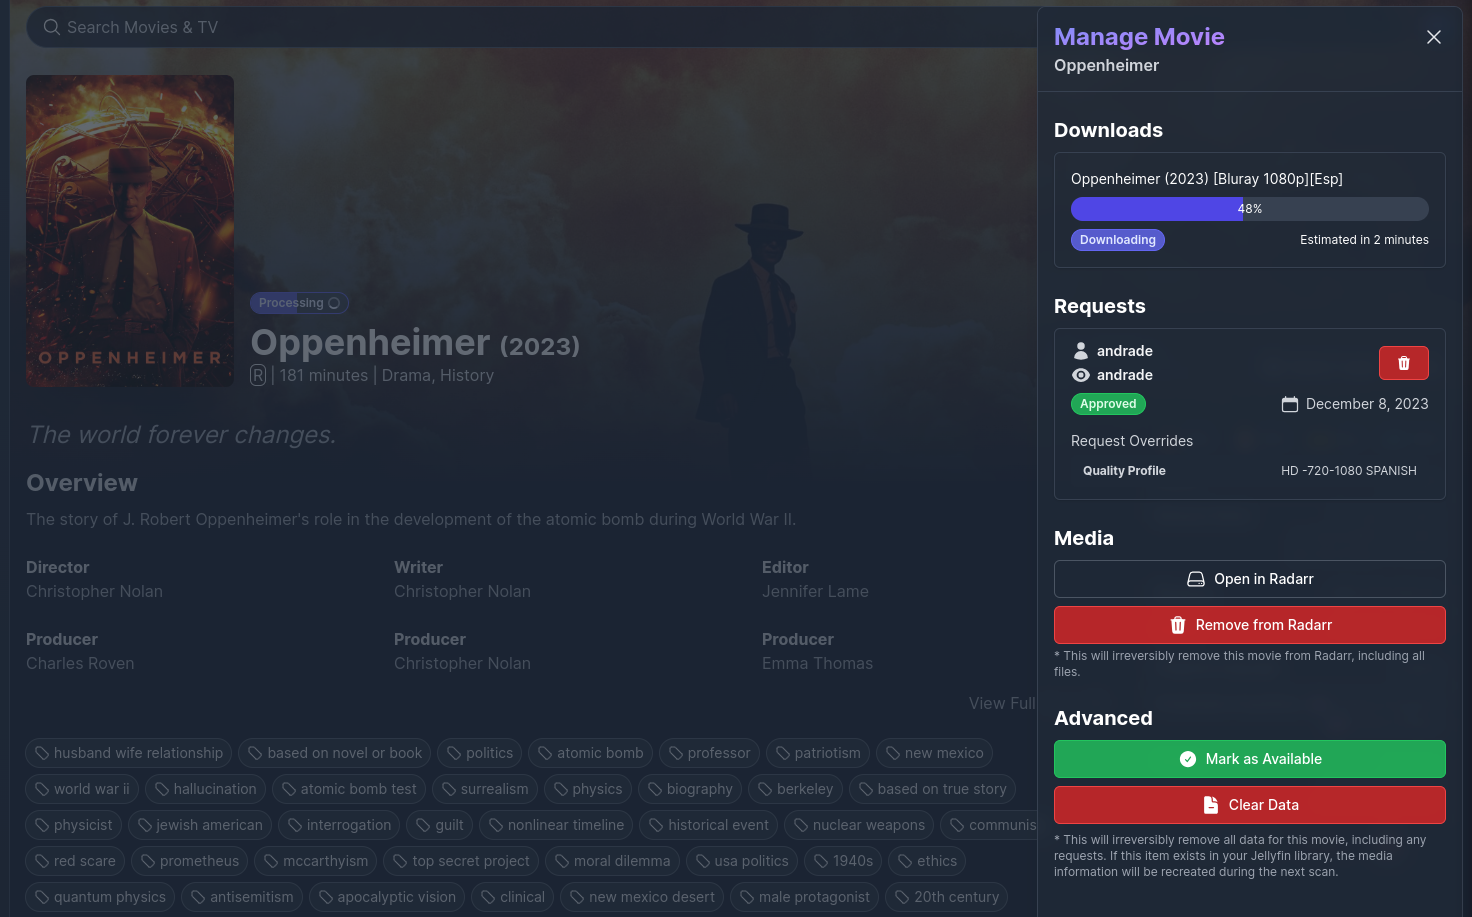
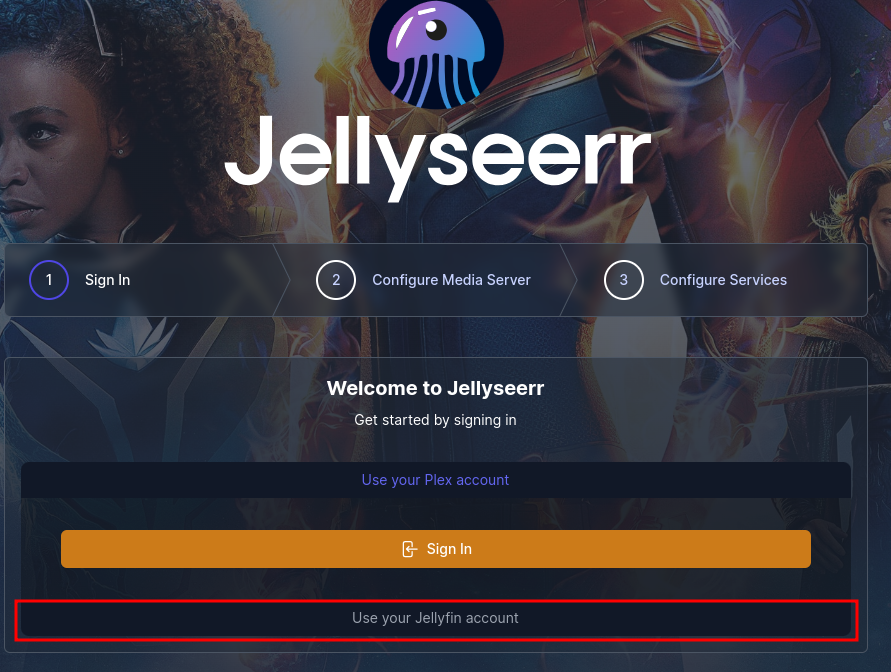
JellySeer
Create account using jellyfin
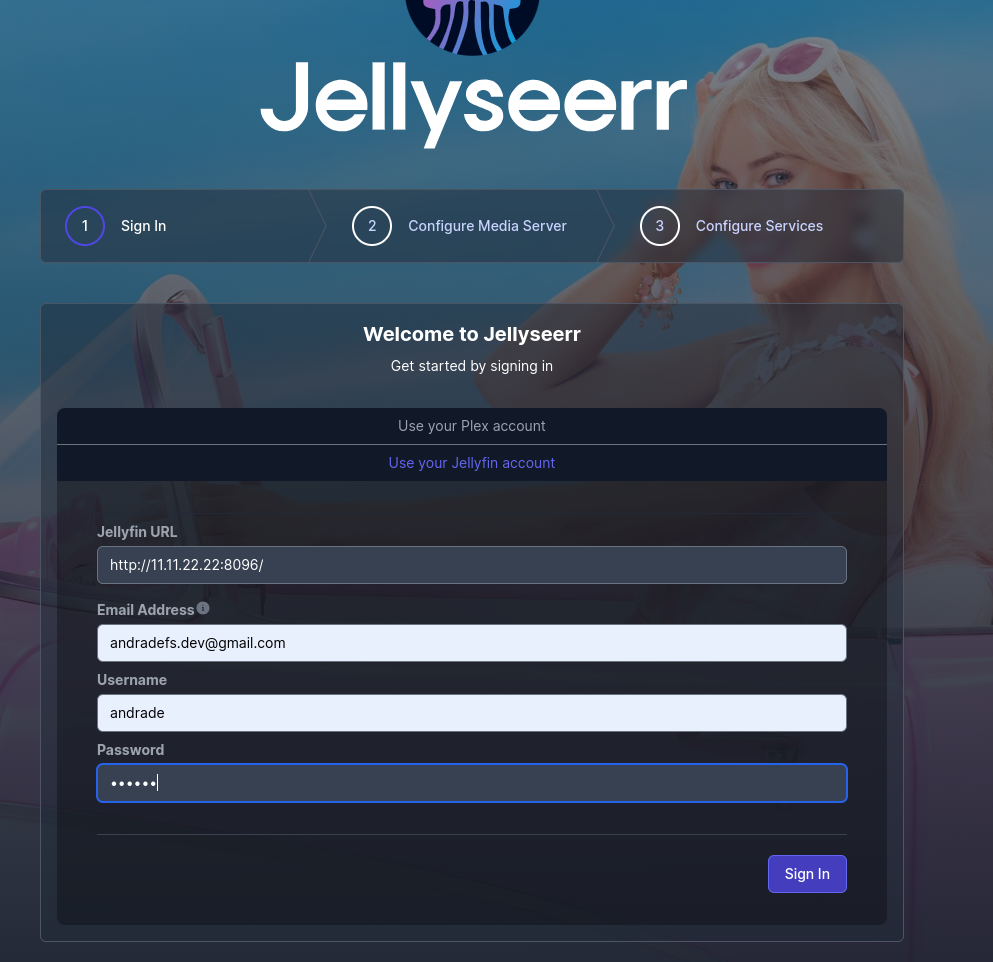
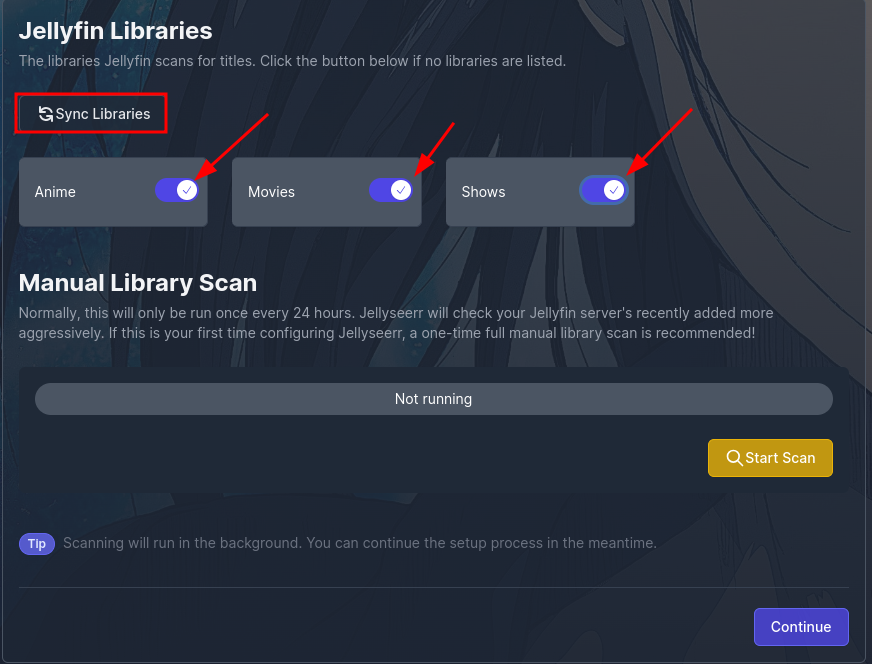
Configure media server
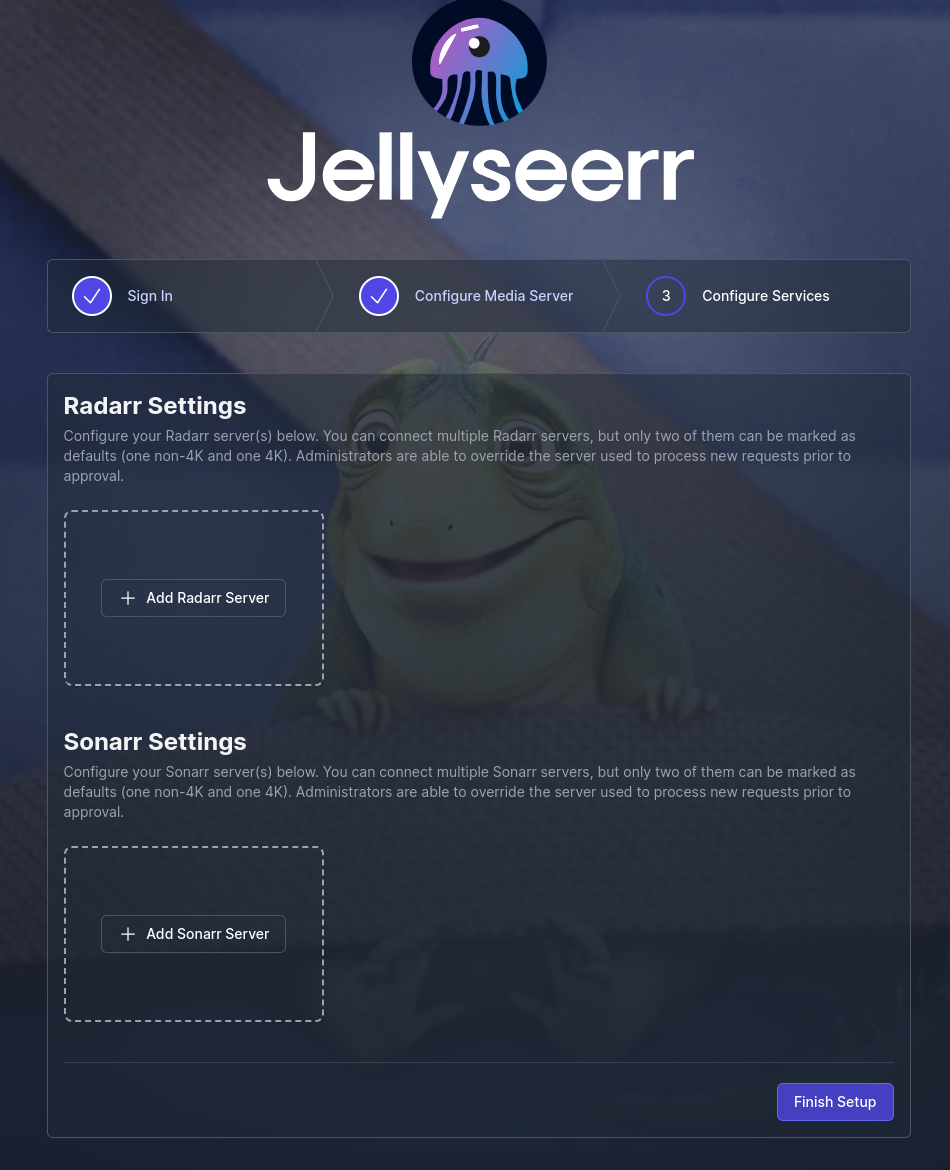
Configure Services
We wiil need the api key ( Settings > General )
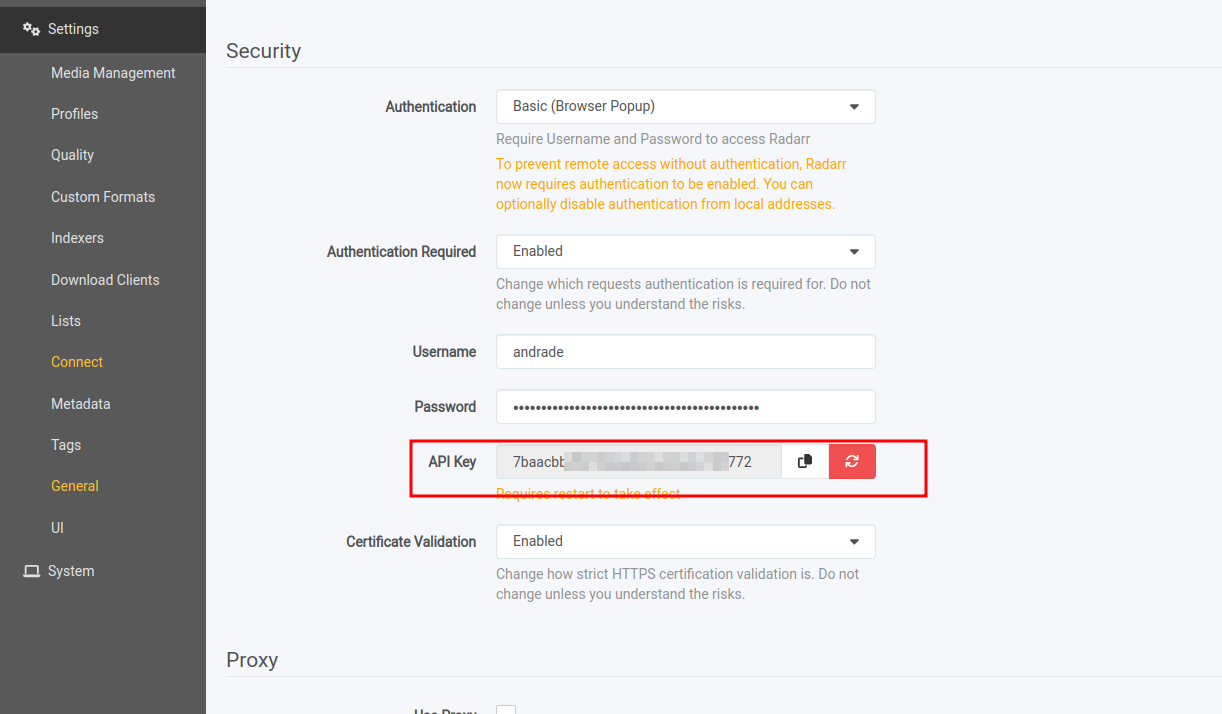
And thas all… 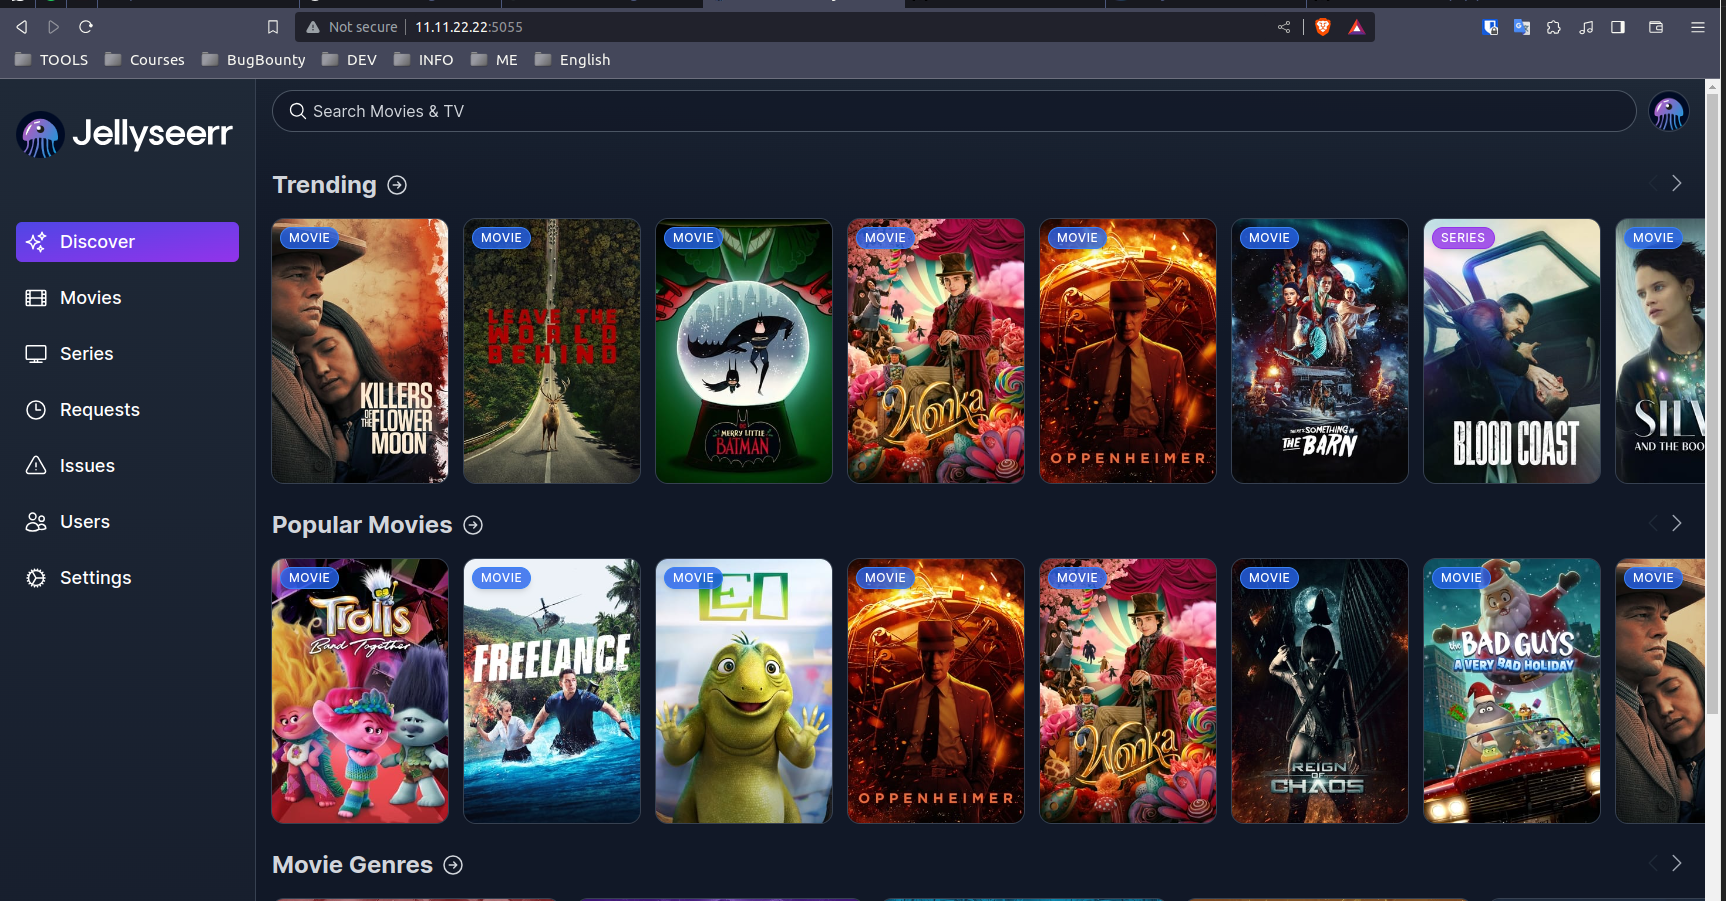
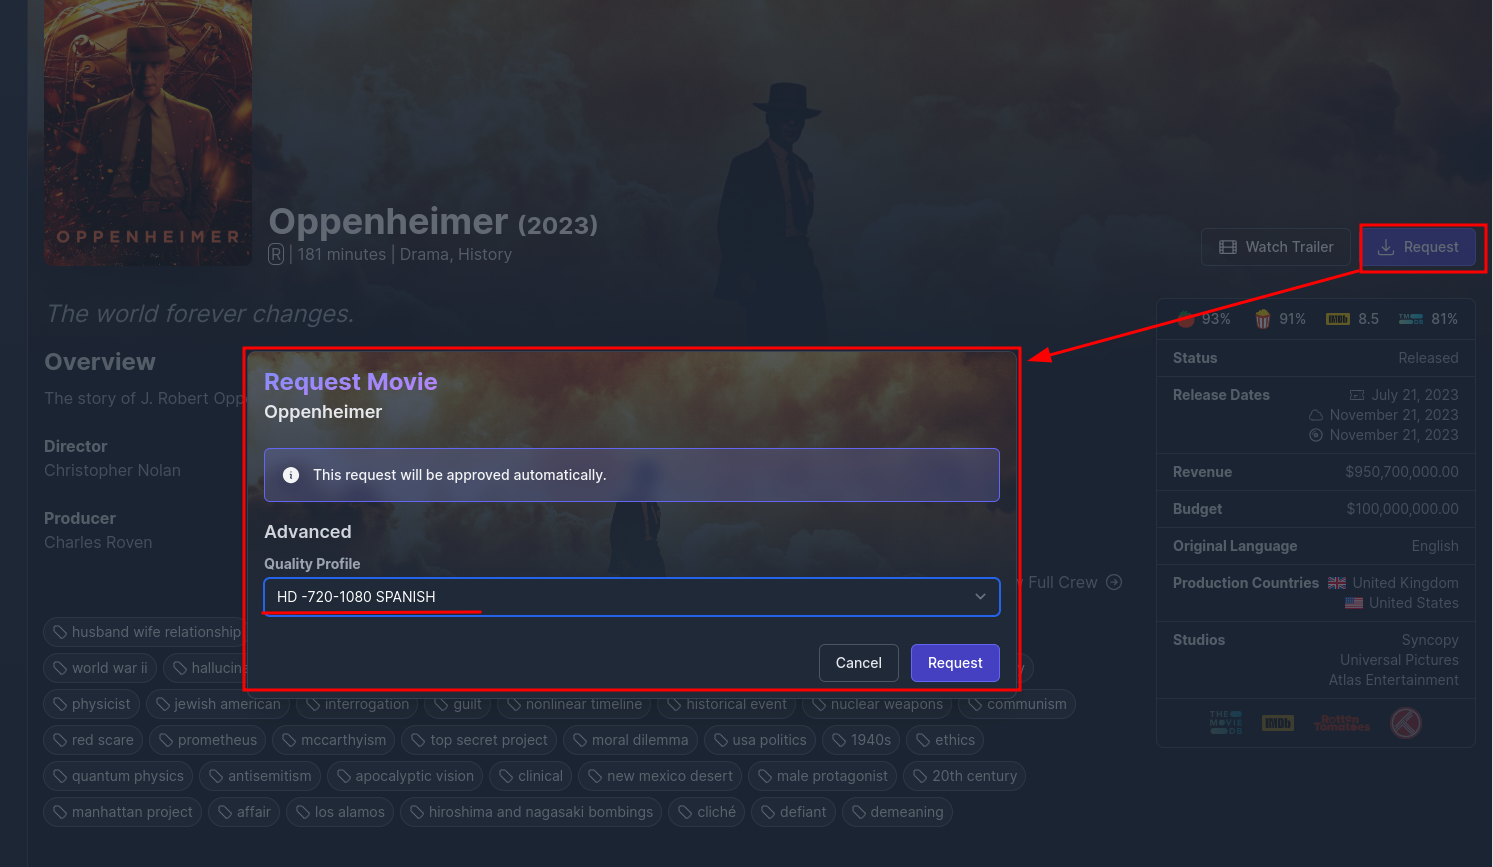
We can see how to download it from:
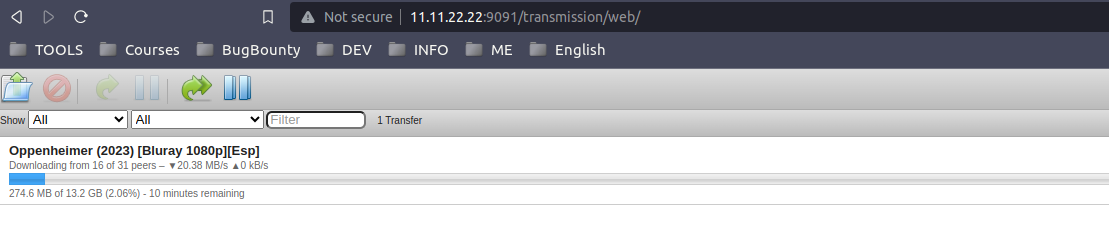
Transmission:
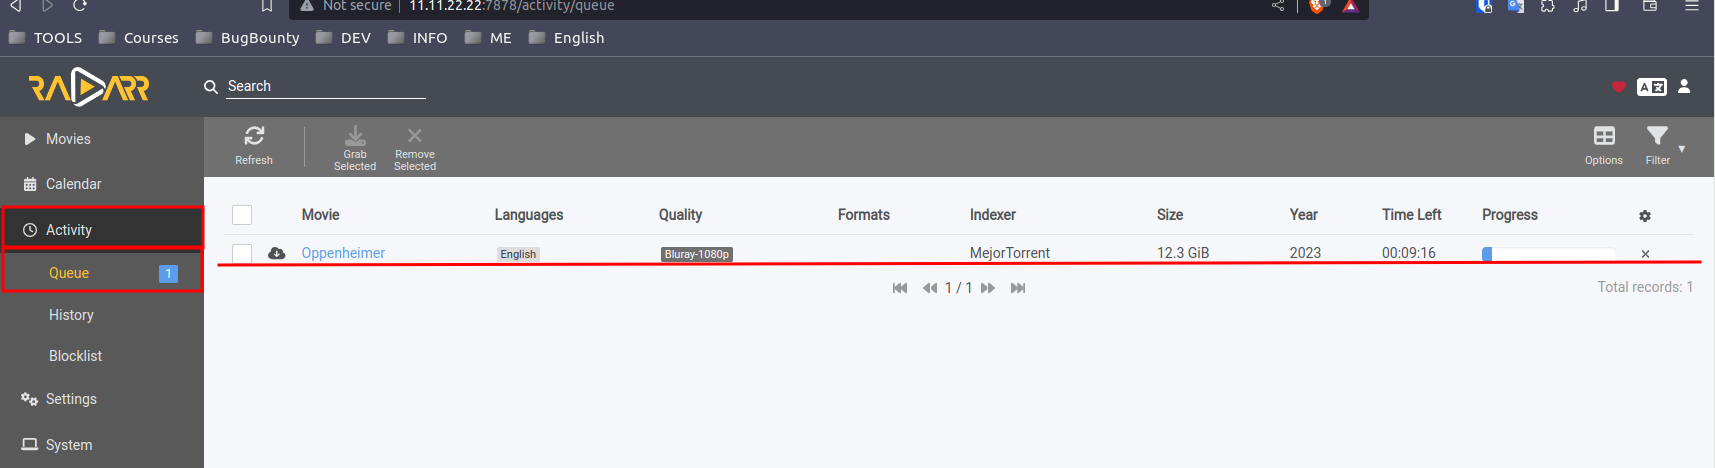
Radarr:
JellySeer: